Launch a Notebook
Launch a Jupyter Notebook on your new Cluster in seconds
Building on the the previous section, Create Your First Cluster, we will make use of our newly added cluster by deploying a a Jupyter Notebook on it.
1. Notebook Dashboard
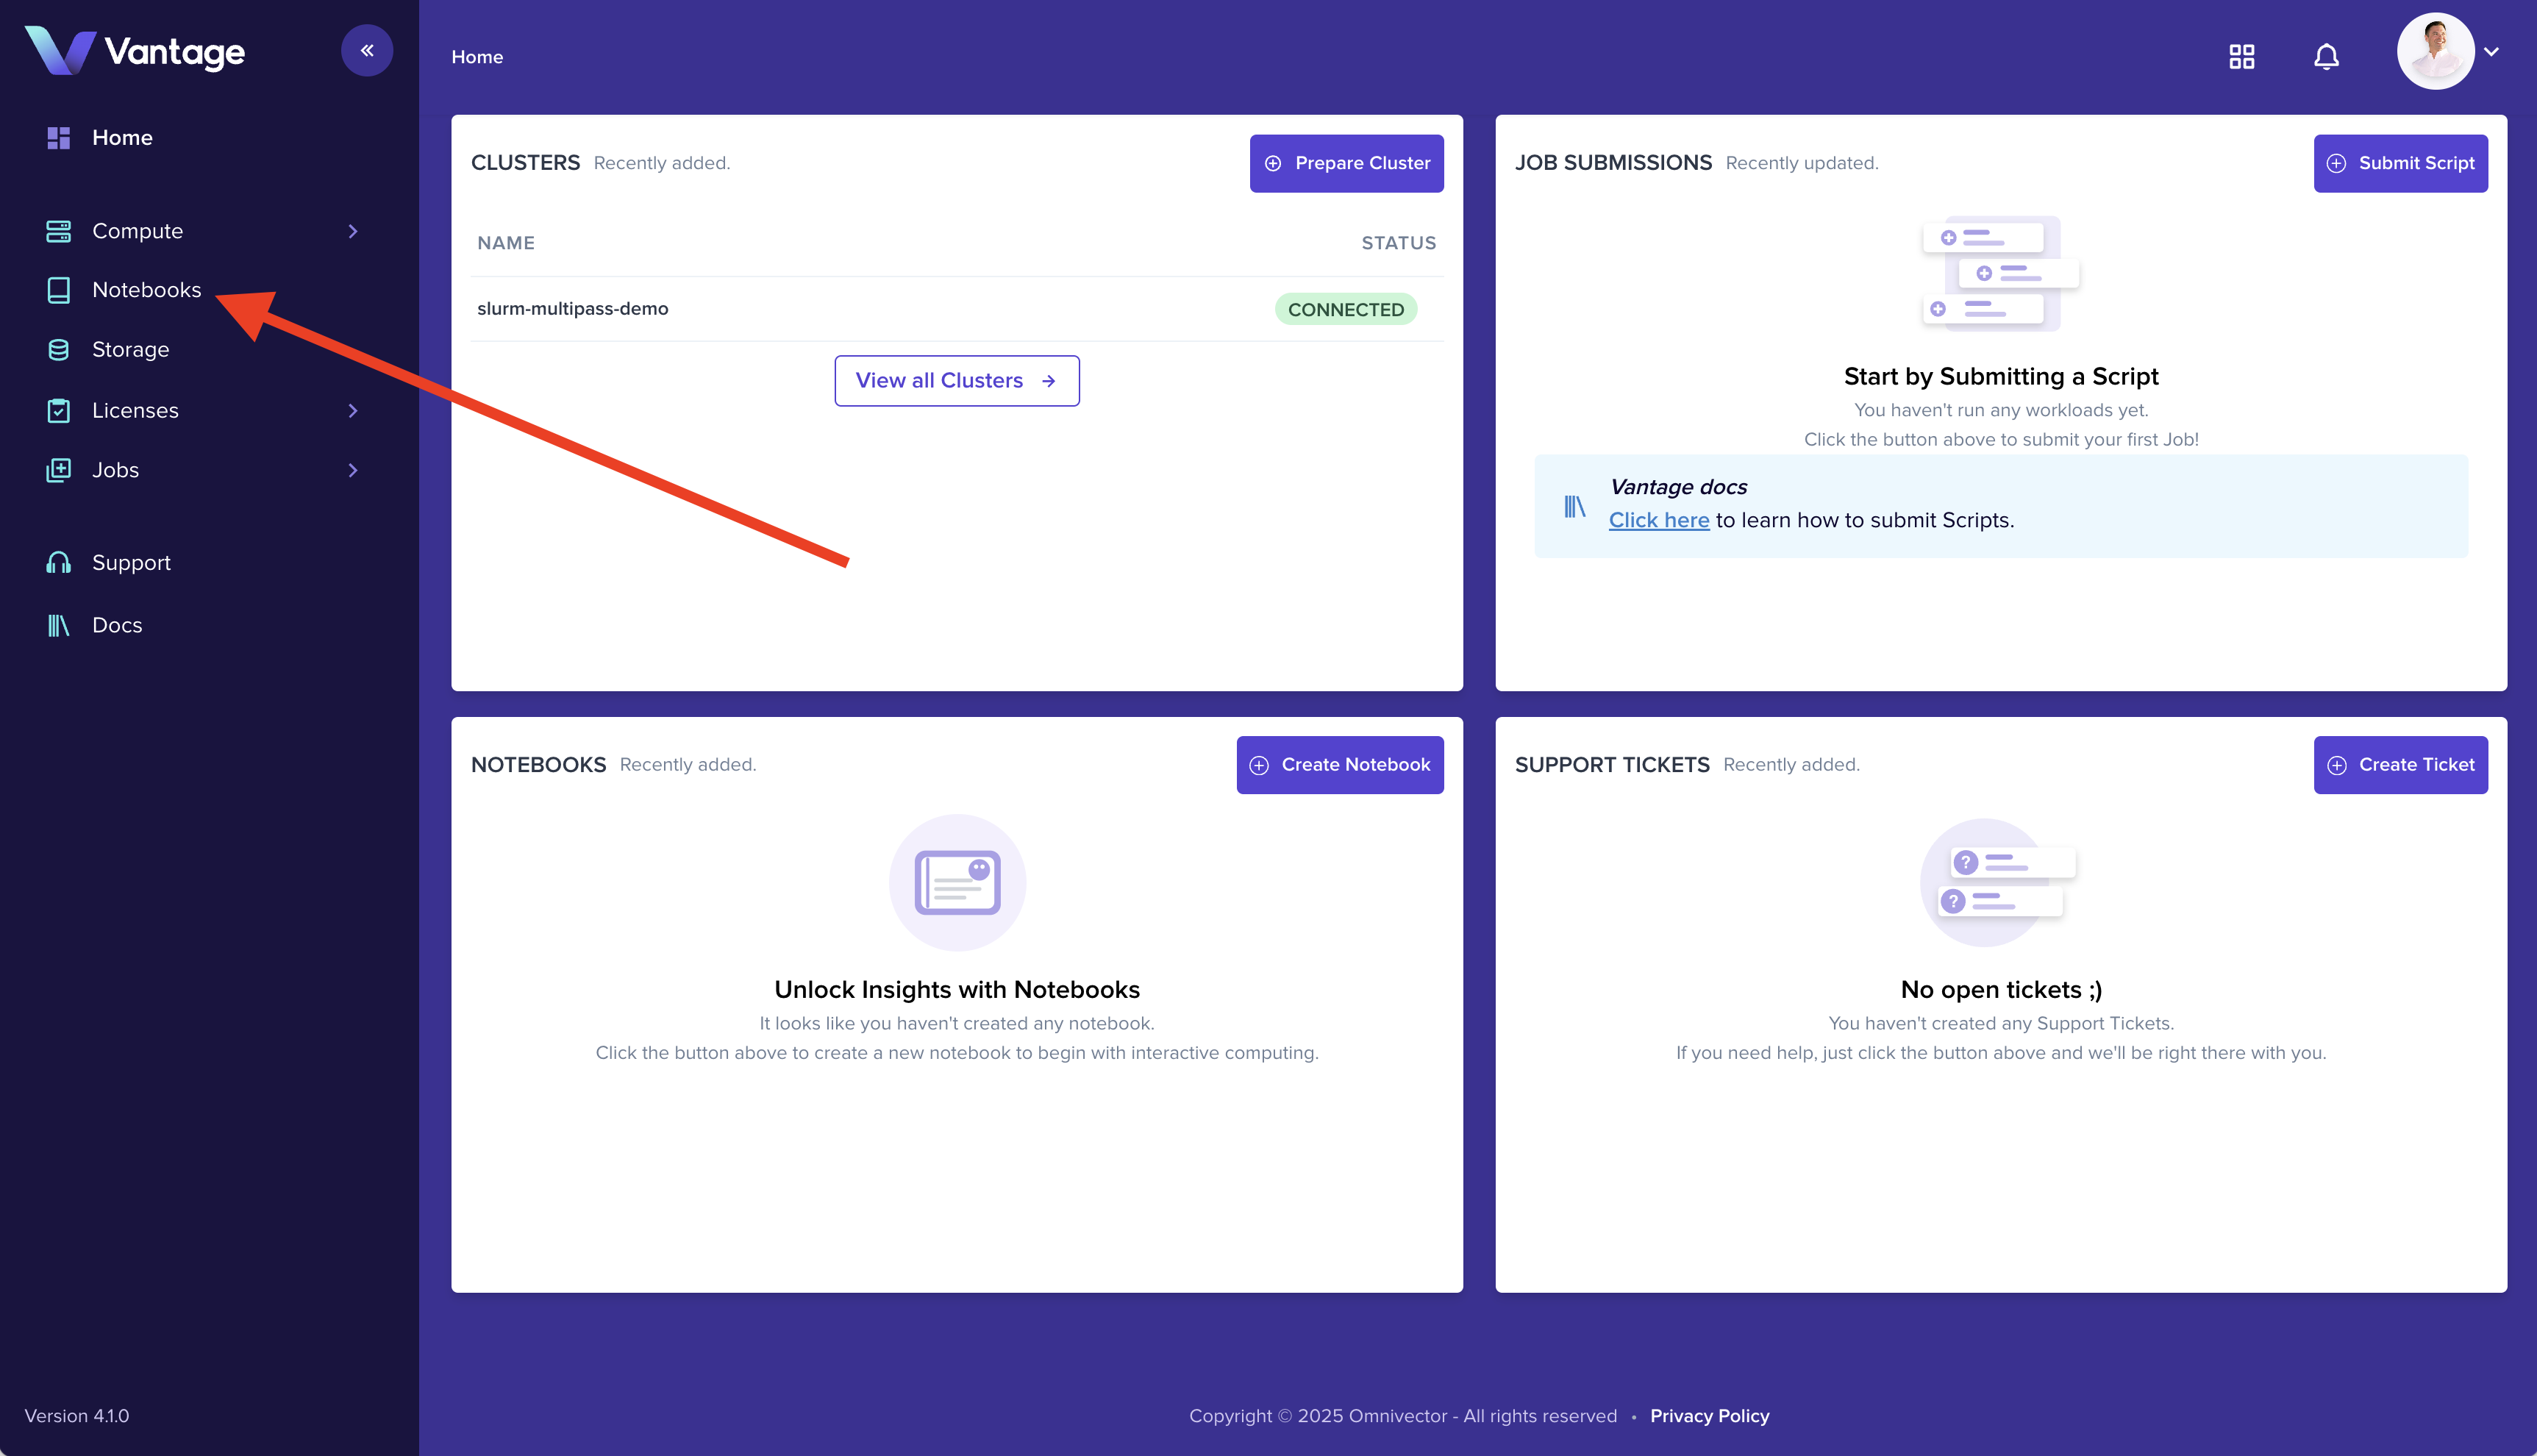
Navigate to the Notebook dashboard by selecting the Notebooks navigation in the lefthand navbar.
2. Create Notebook
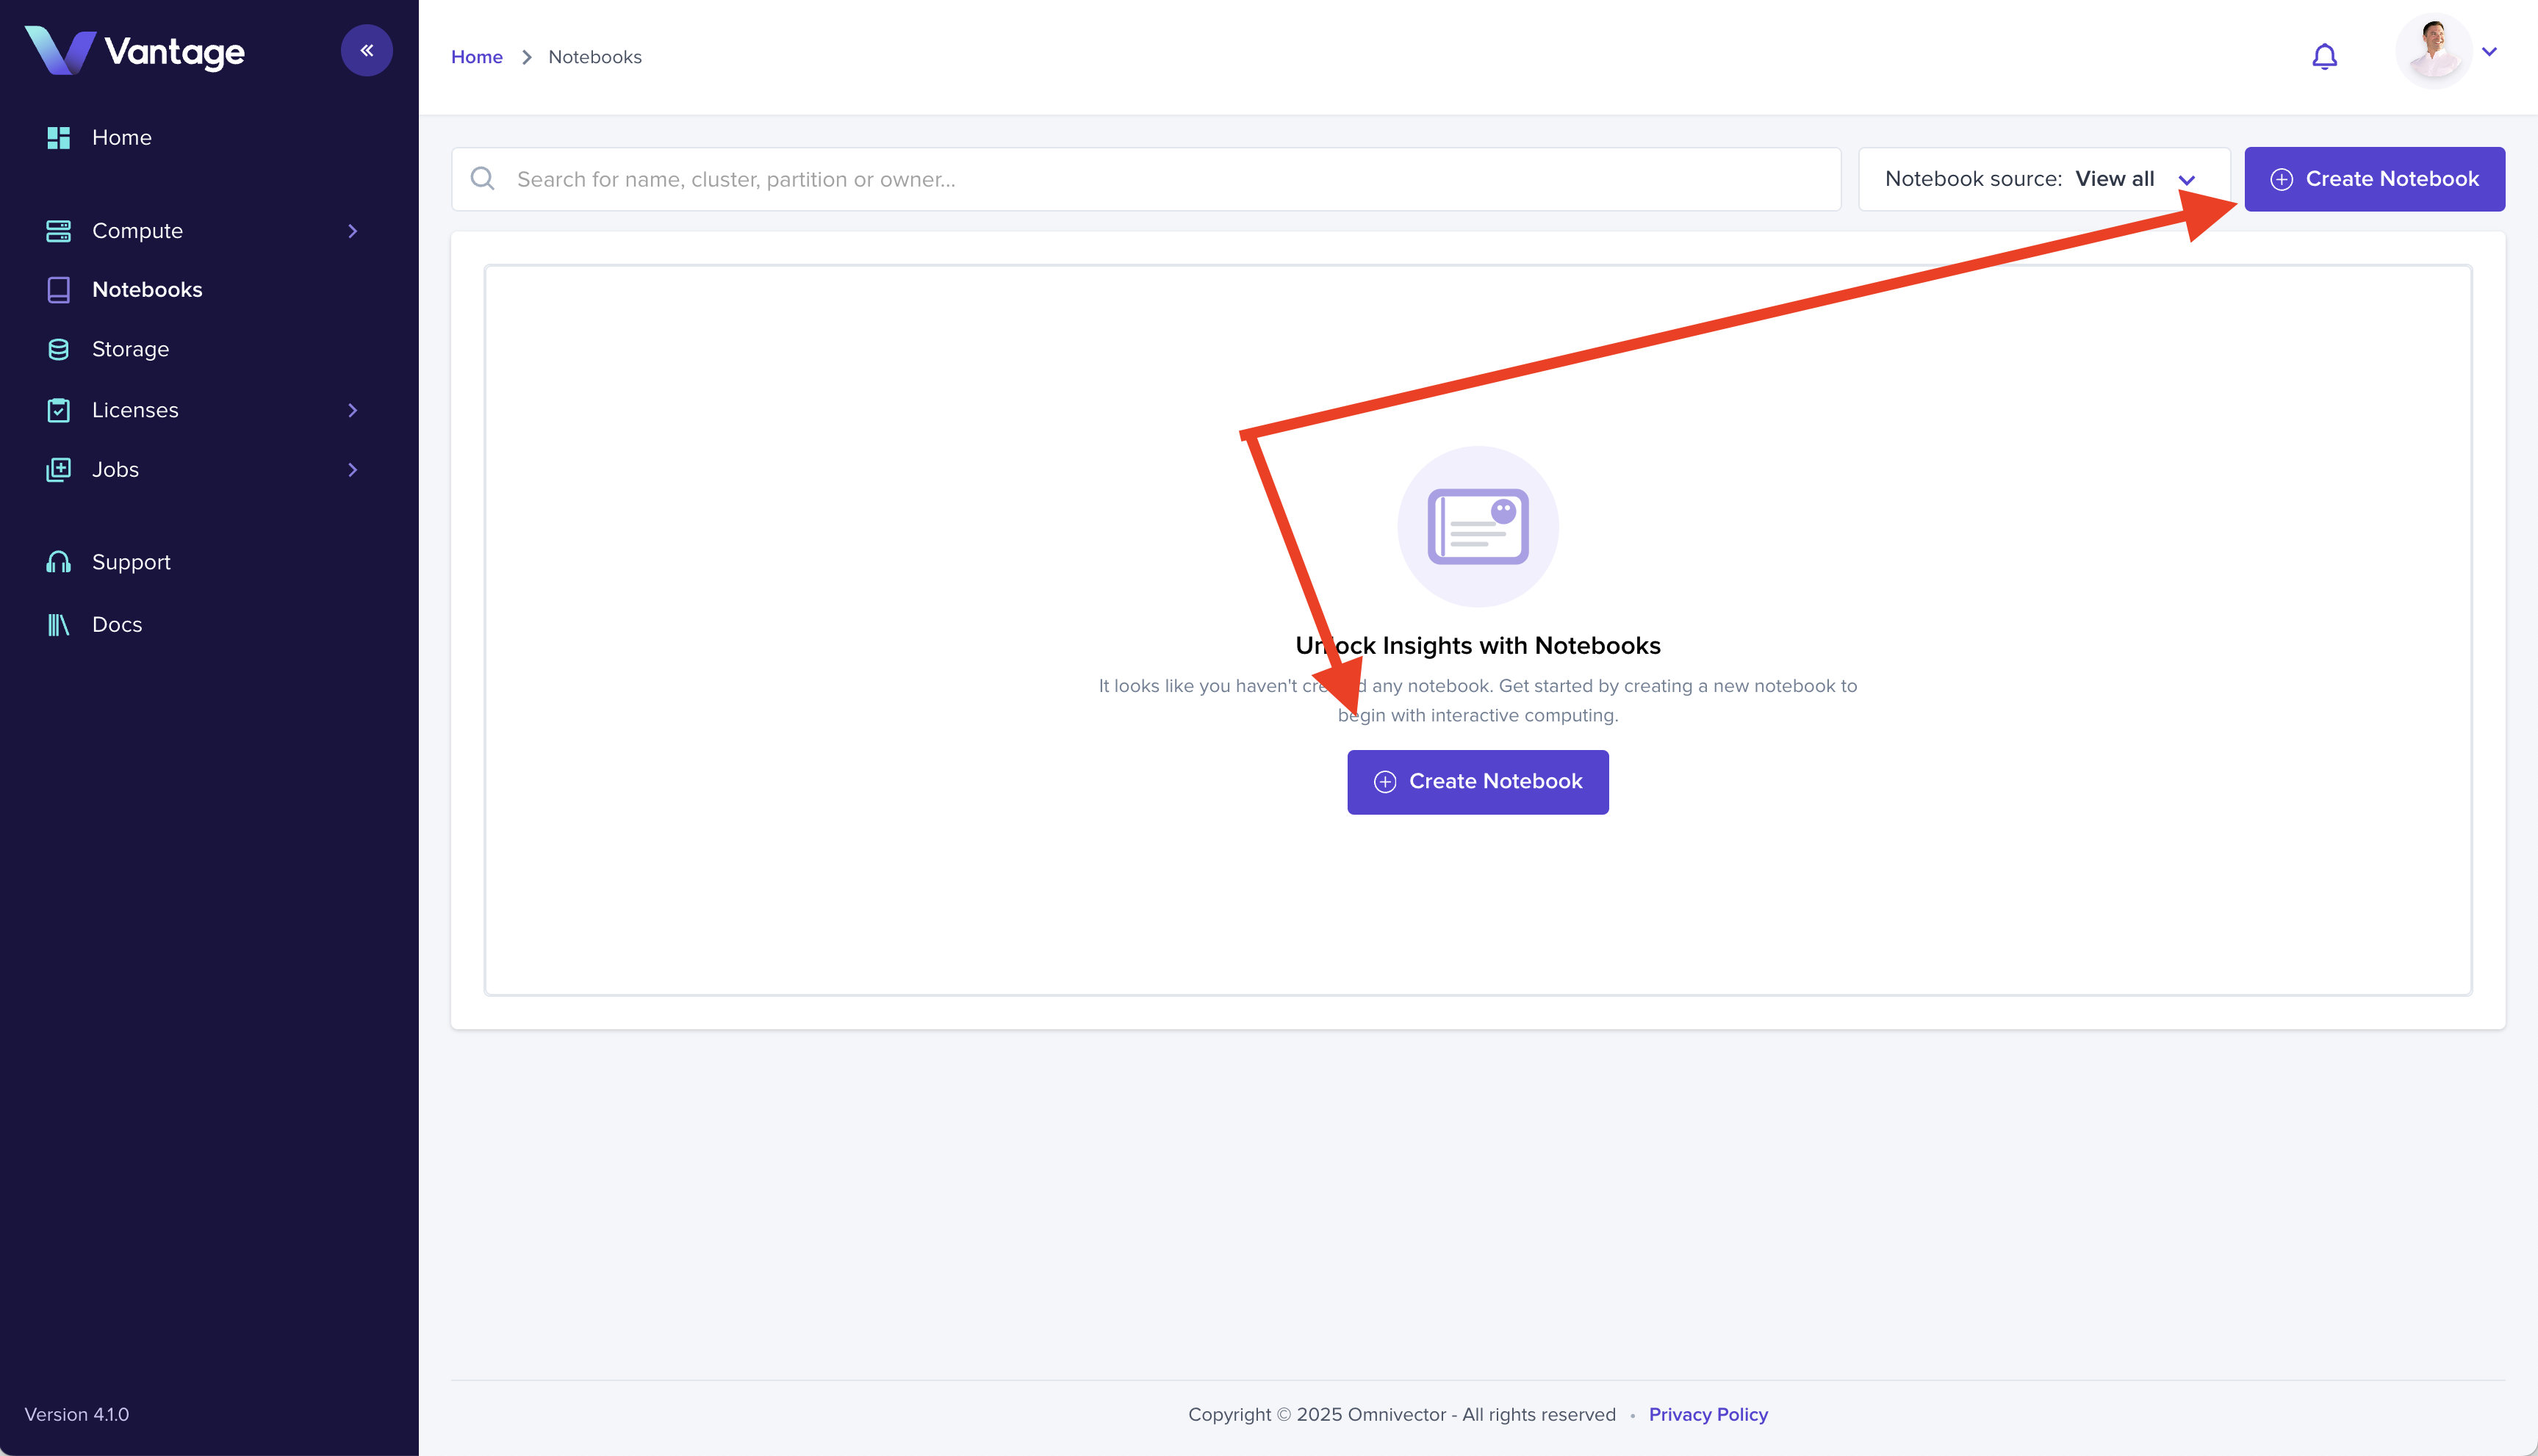
Click the "Create Notebook" button in the upper right corner of the page to open the notebook create modal.
3. Configure Notebook Resources
Complete the form by giving your notebook a name, selecting the cluster we just created (slurm-multipass-demo) and the partition (compute).
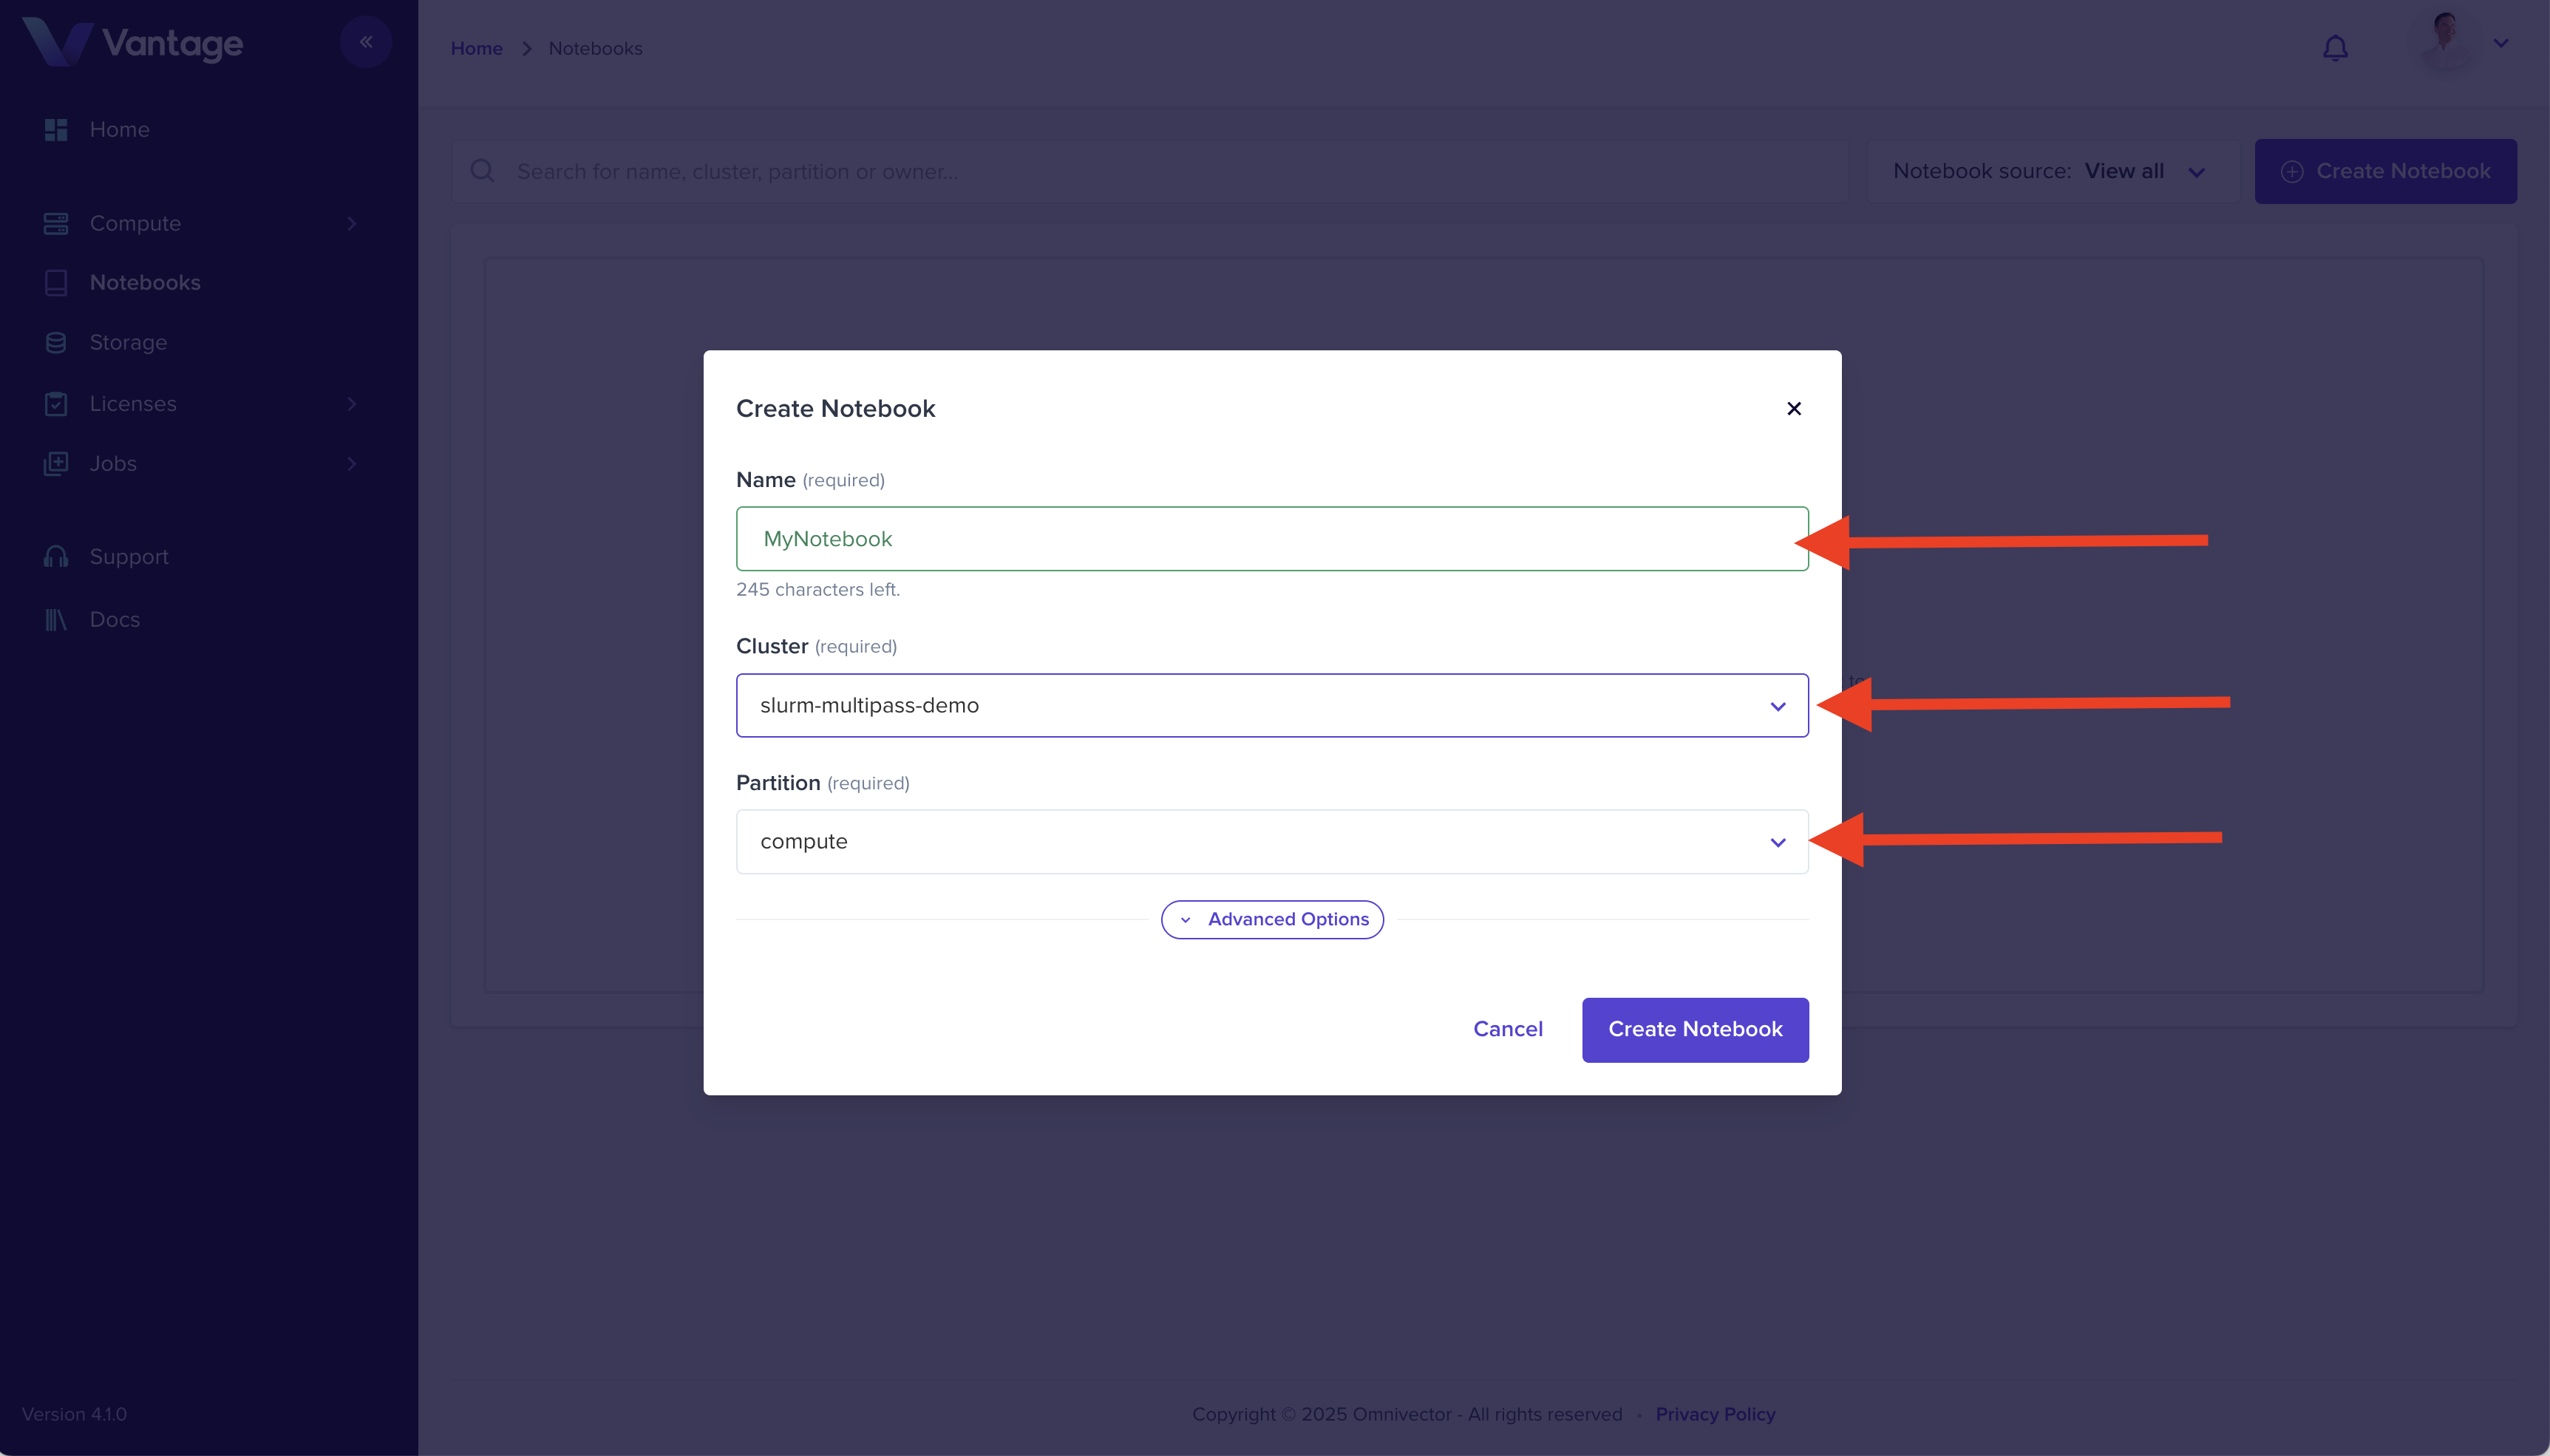
Click the "Create Notebook" button to complete and submit the form.
4. Login to your Notebook
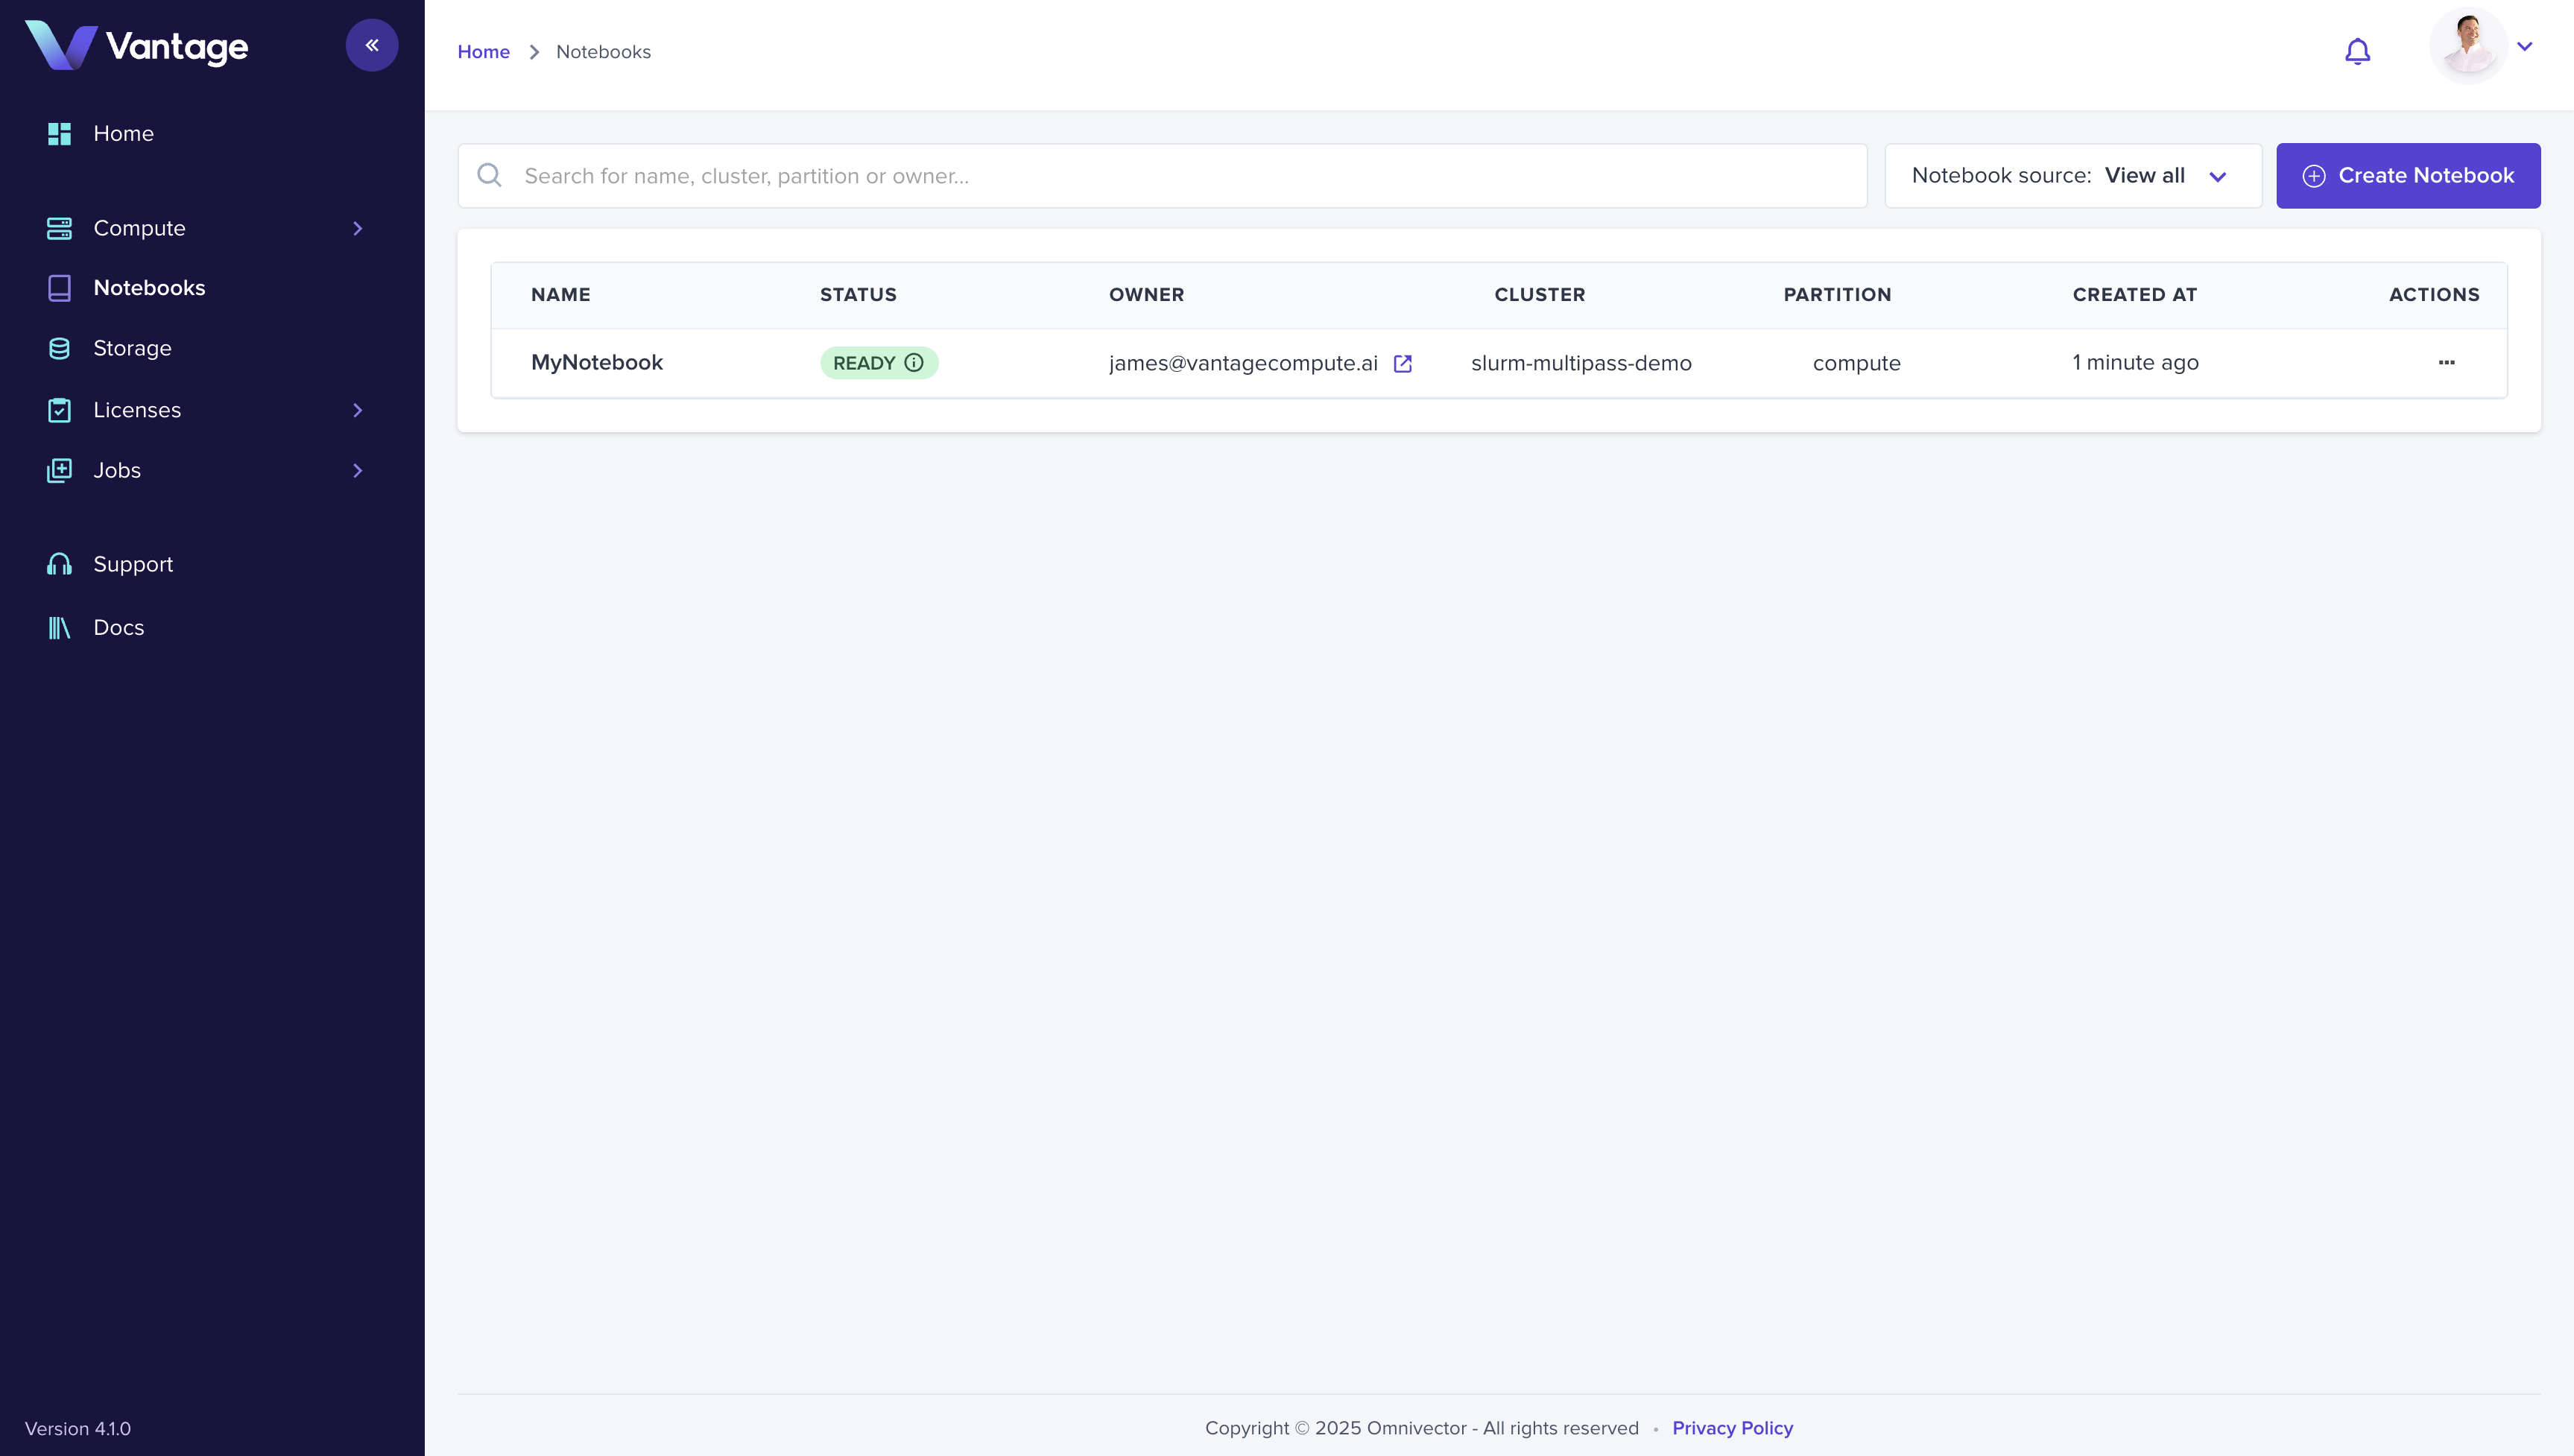
Click the notebook we just created in the list to open it in the Vantage UI.
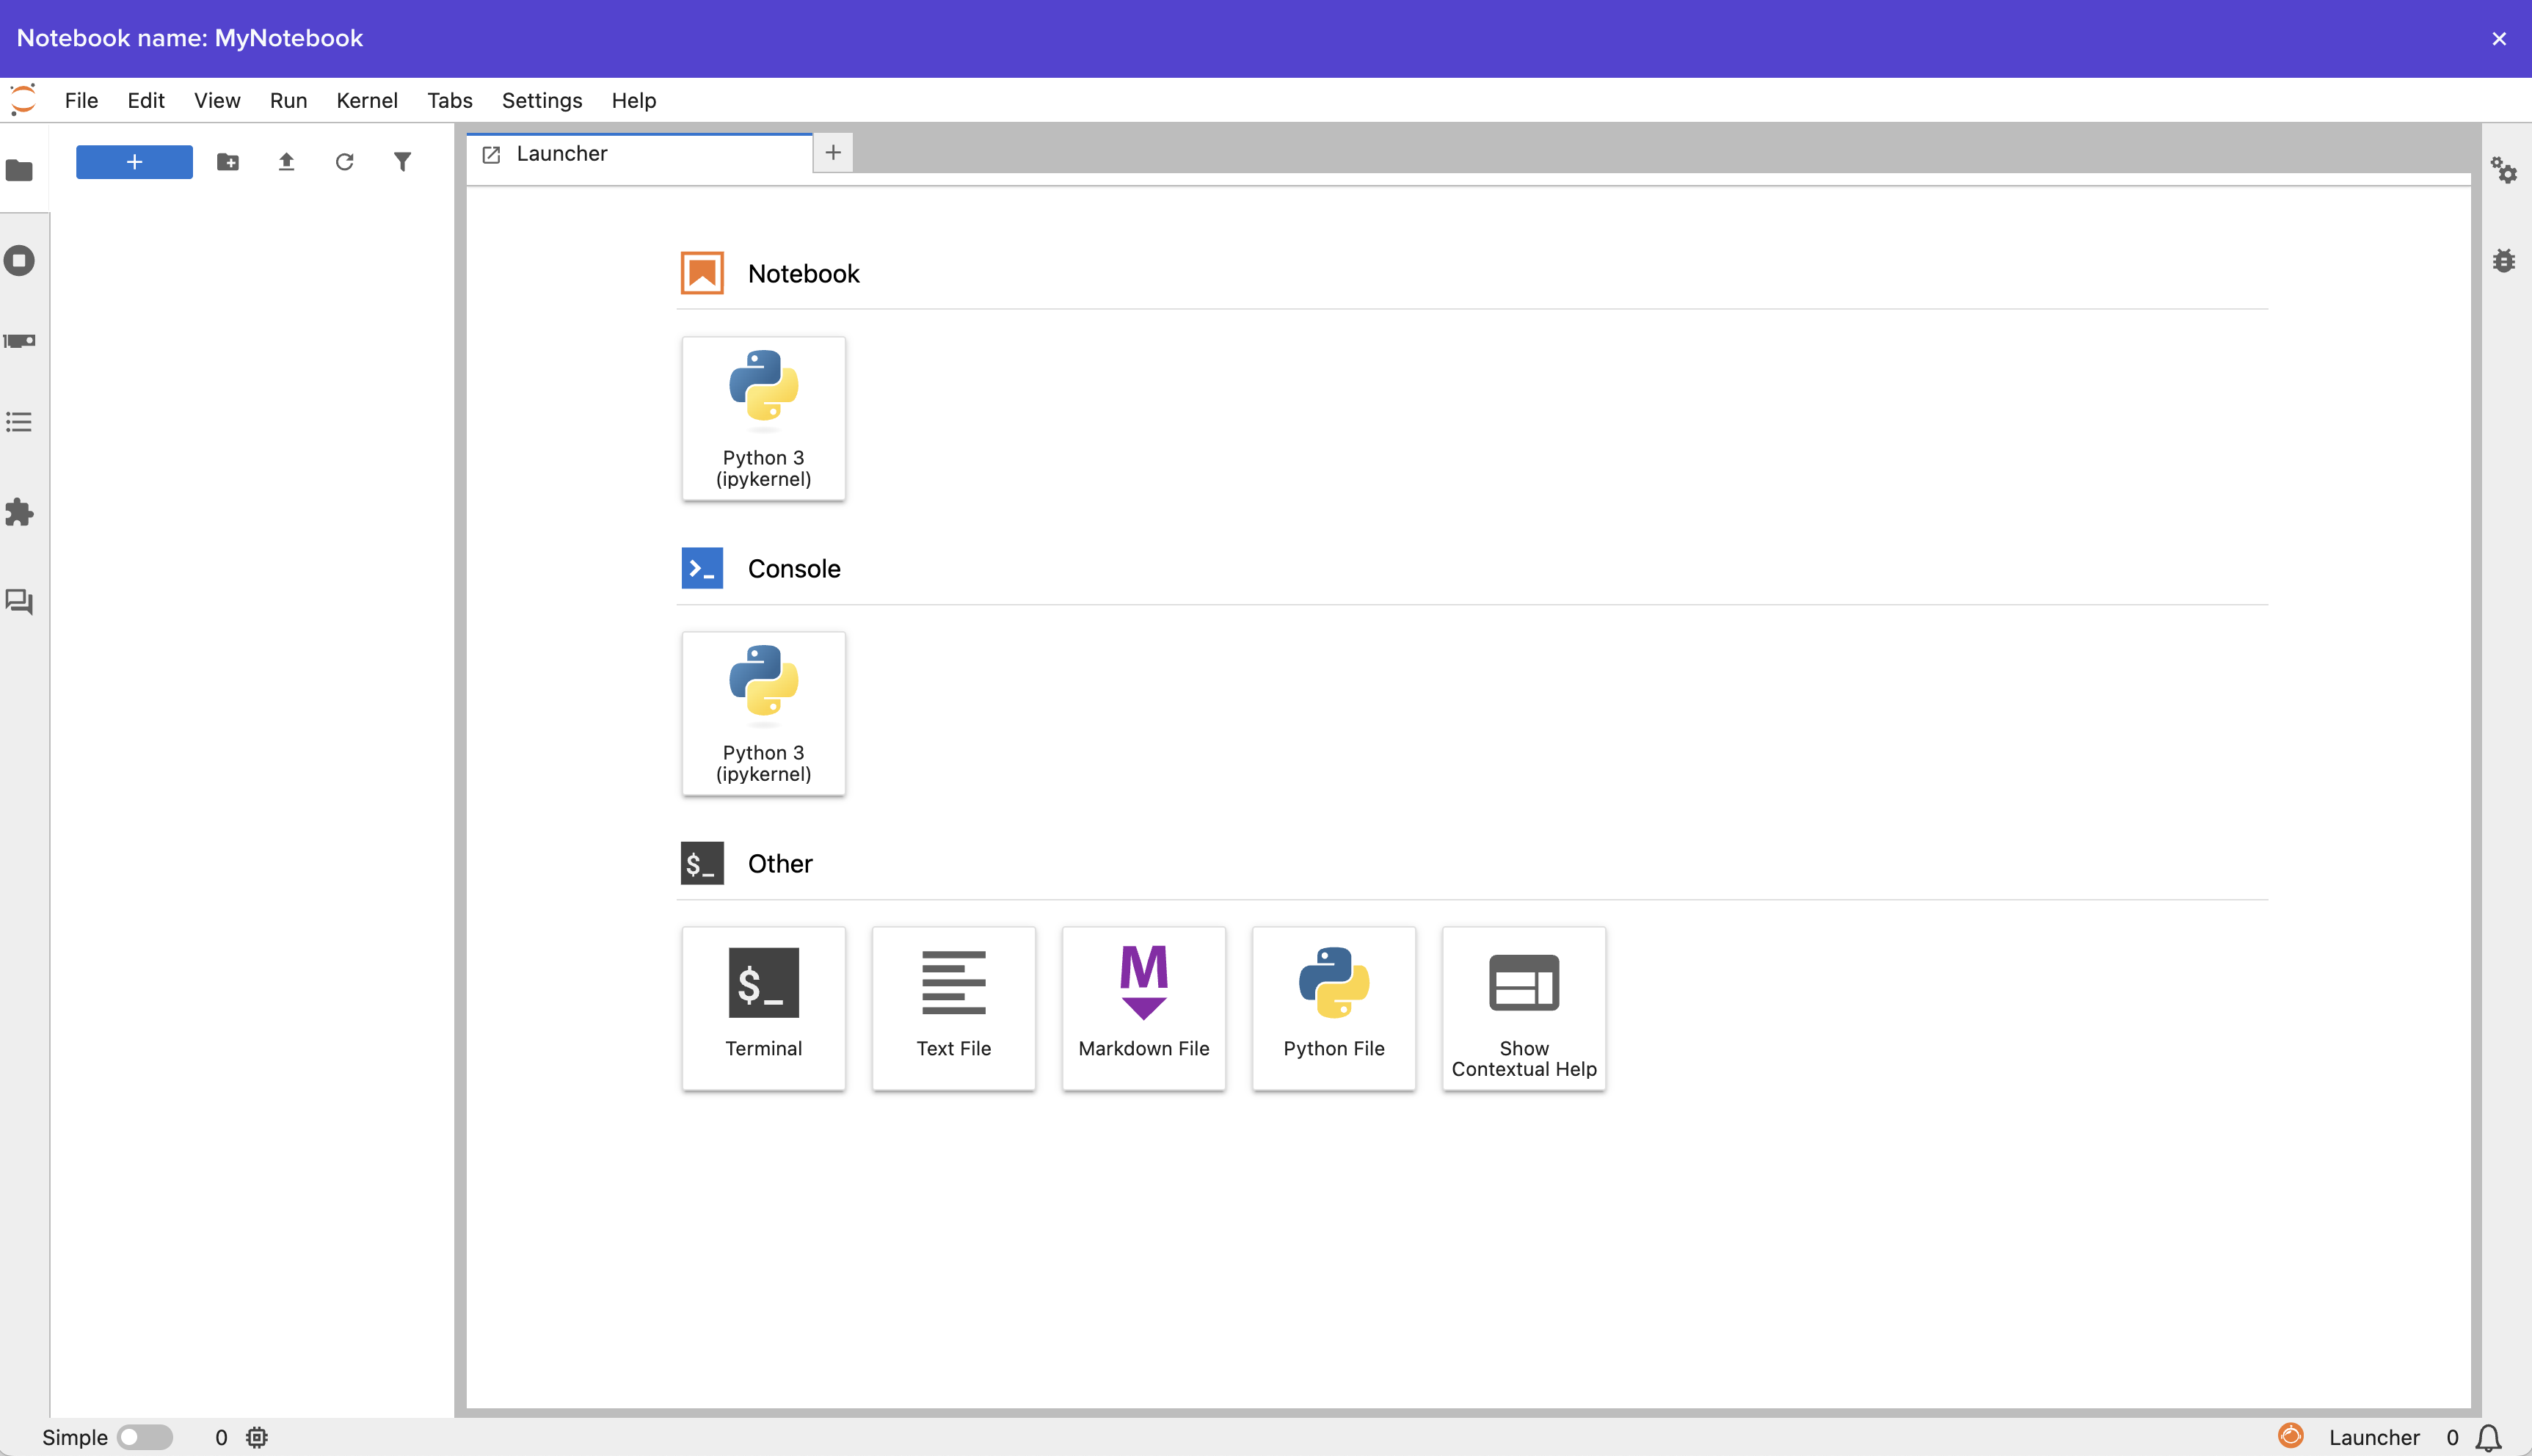
Welcome to your curated notebook development environment!
5. Summary
At this point, you have a production grade, singlenode slurm cluster running in a virtual machine on your computer!
You can share your cluster with members of your organization by adding them to your Team, submit Job Scripts, Federate with other clusters, orchestrate Job Template workflows, and much more!