Launch a Notebook
Overview
Notebooks provide an interactive development environment for data science and research. In this guide, you'll launch a Jupyter Notebook on your cluster and start coding immediately.
What You'll Learn
- How to navigate to the Notebooks dashboard
- How to create a new notebook
- How to configure and access your notebook environment
Prerequisites
- A connected cluster (see Create a Cluster)
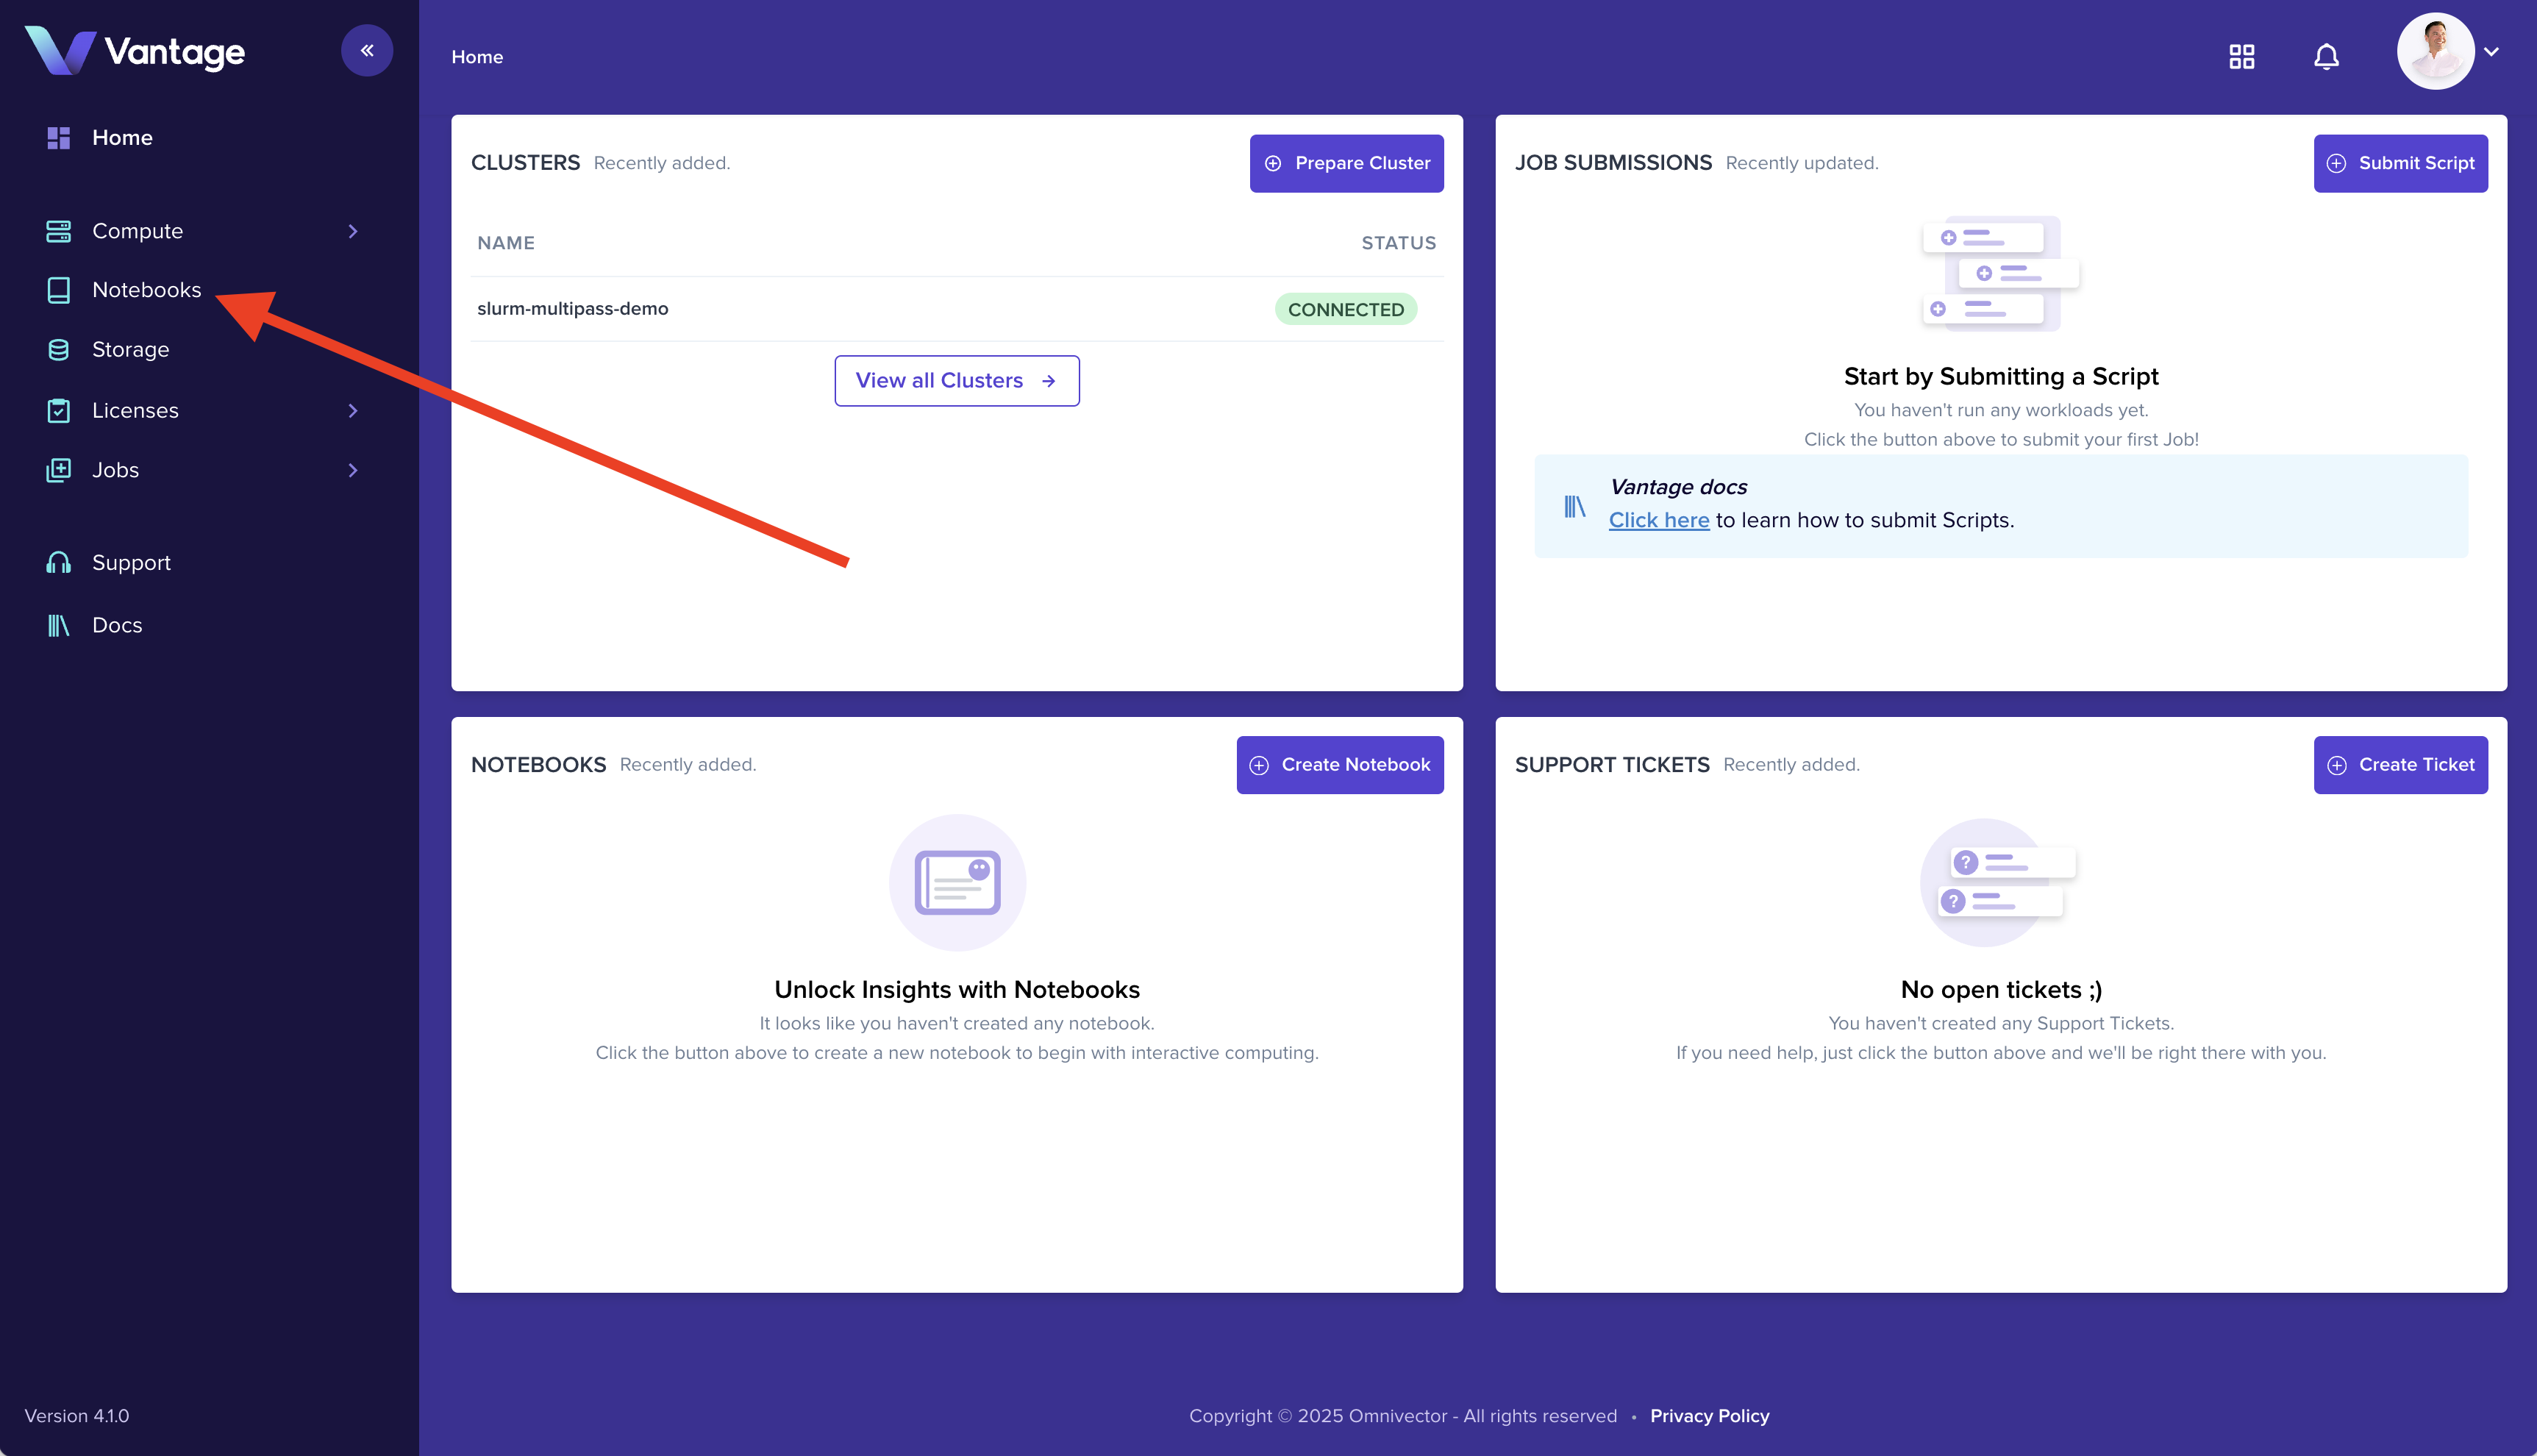
Step 1: Access the Notebook Dashboard
Navigate to the Notebooks section in the Vantage web UI using the left sidebar navigation.
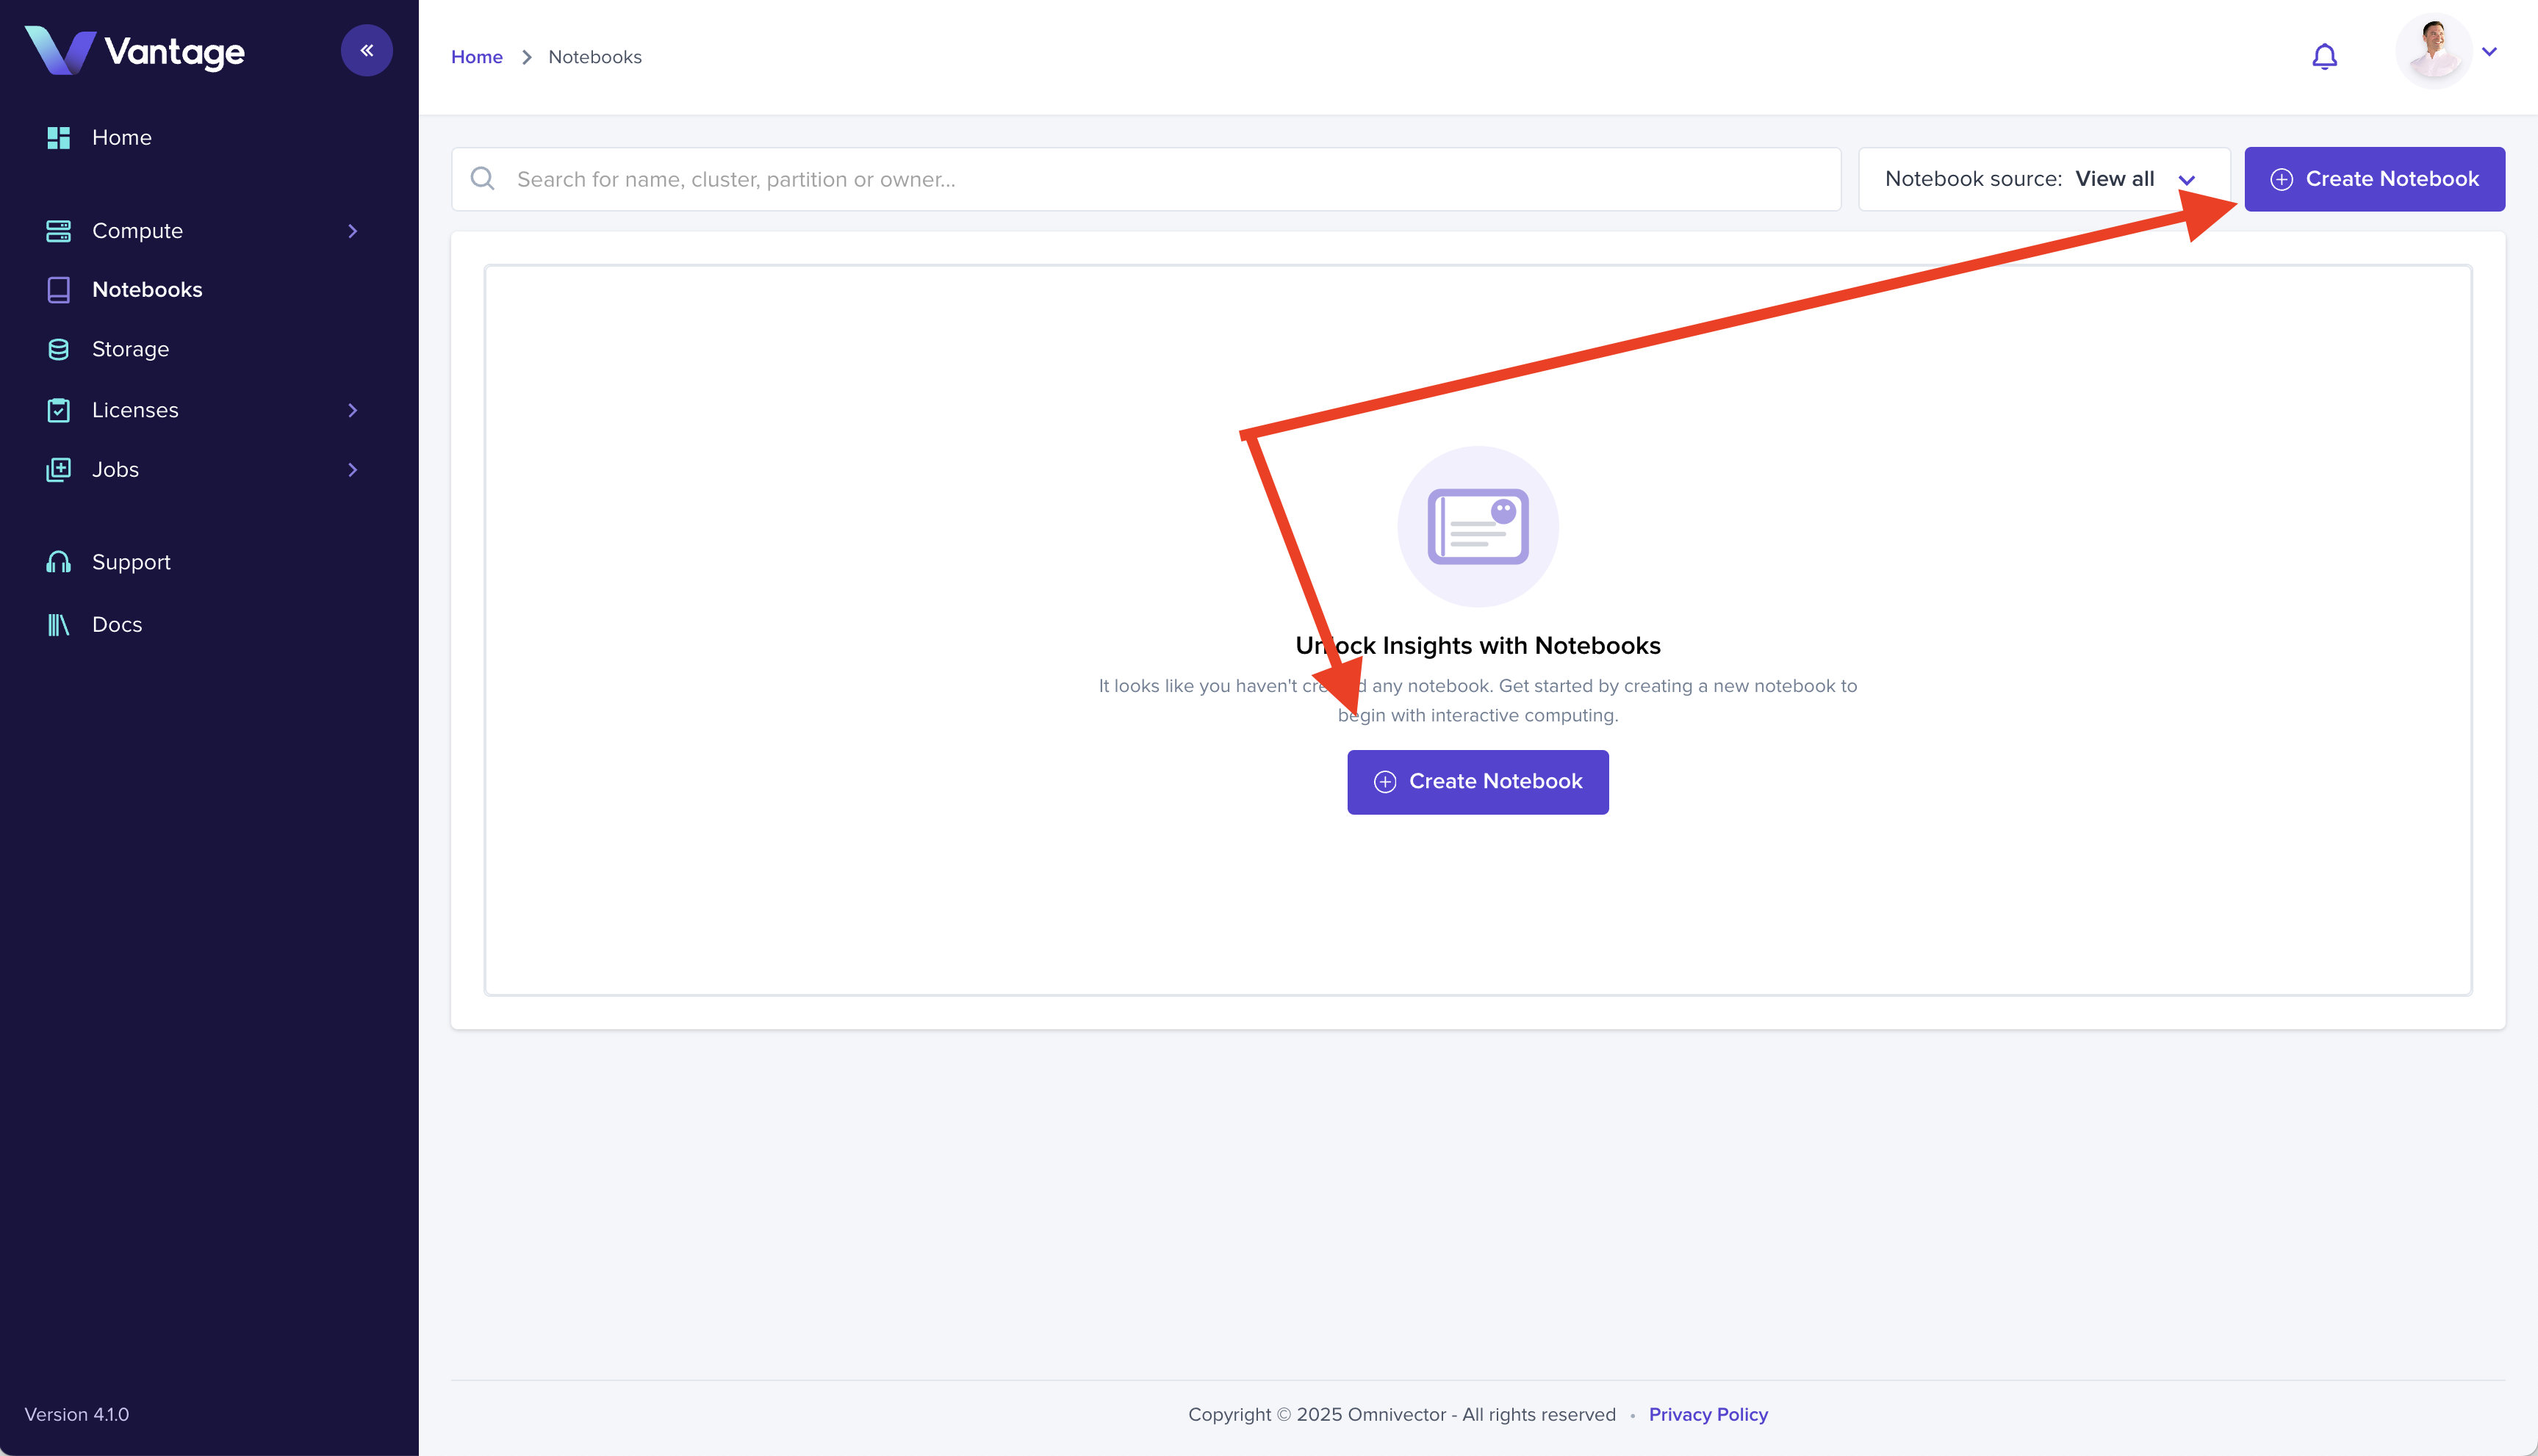
Step 2: Create a Notebook
Click the Create Notebook button in the upper right corner to open the notebook creation form.
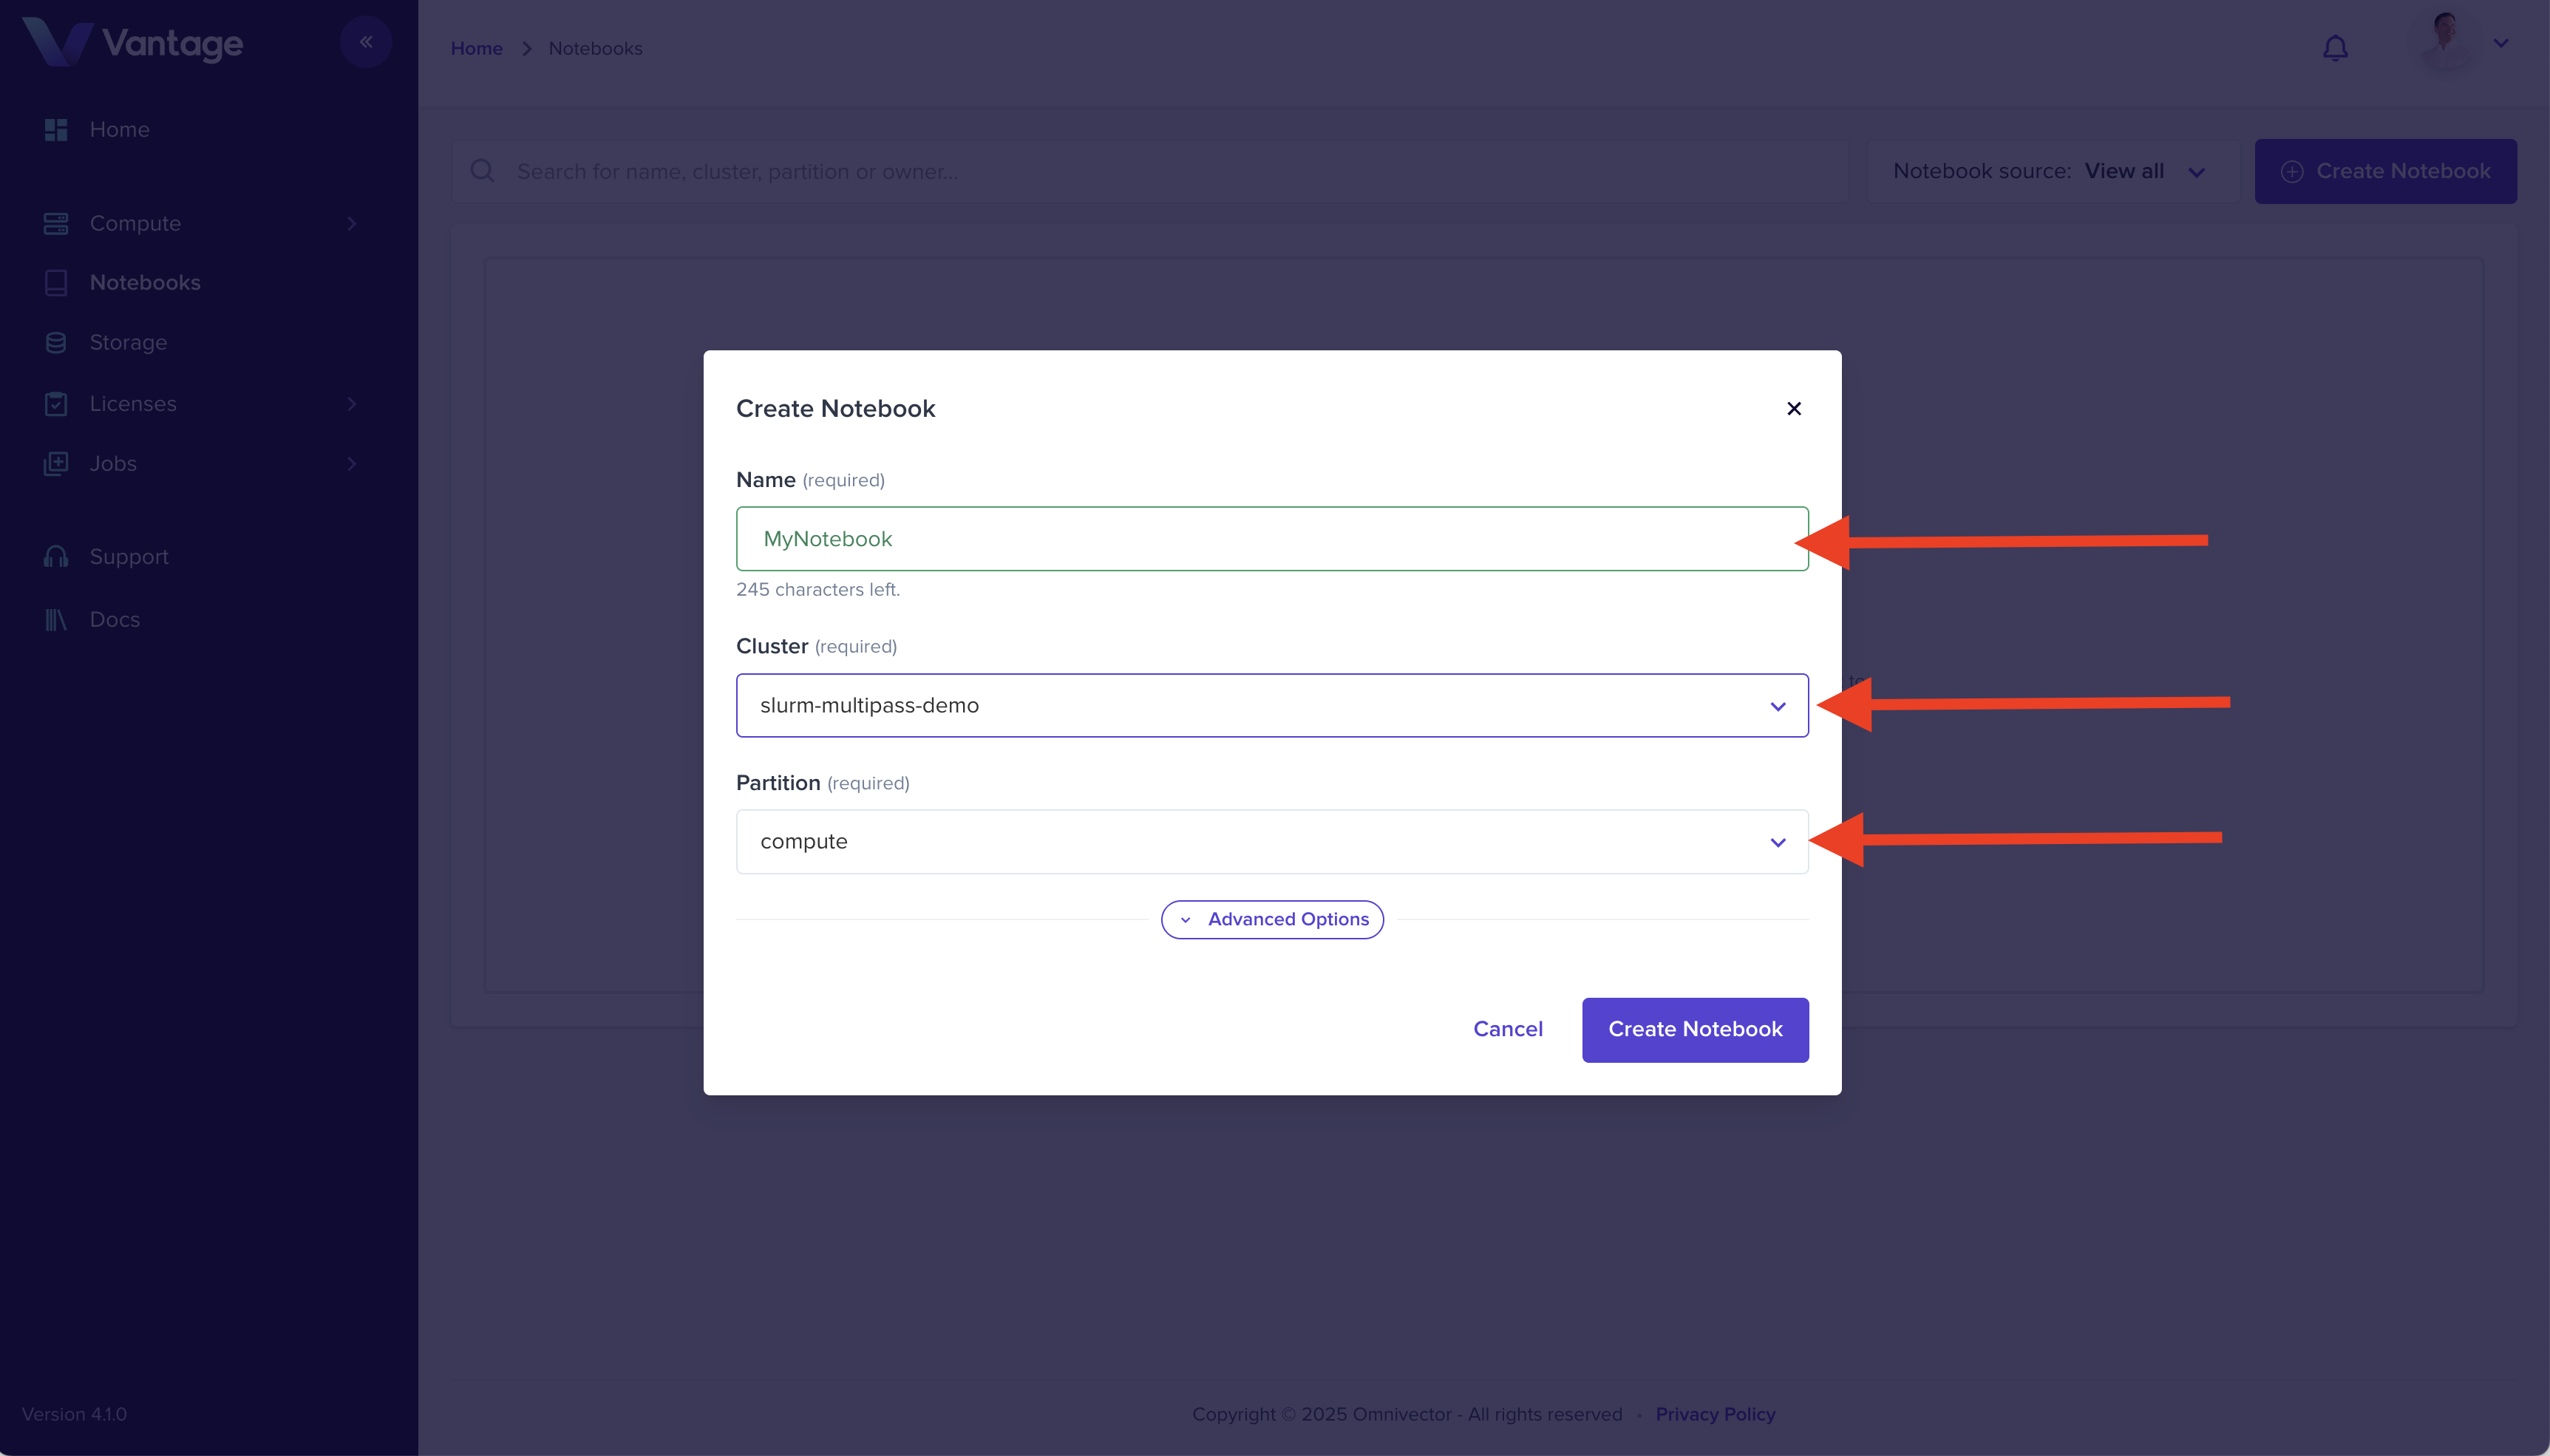
Step 3: Configure Notebook Resources
Complete the form by providing:
- Name: Enter a name for your notebook (e.g.,
my-notebook) - Cluster: Select
my-first-cluster - Partition: Select the appropriate partition (e.g.,
compute)
Click Create Notebook to submit the form.
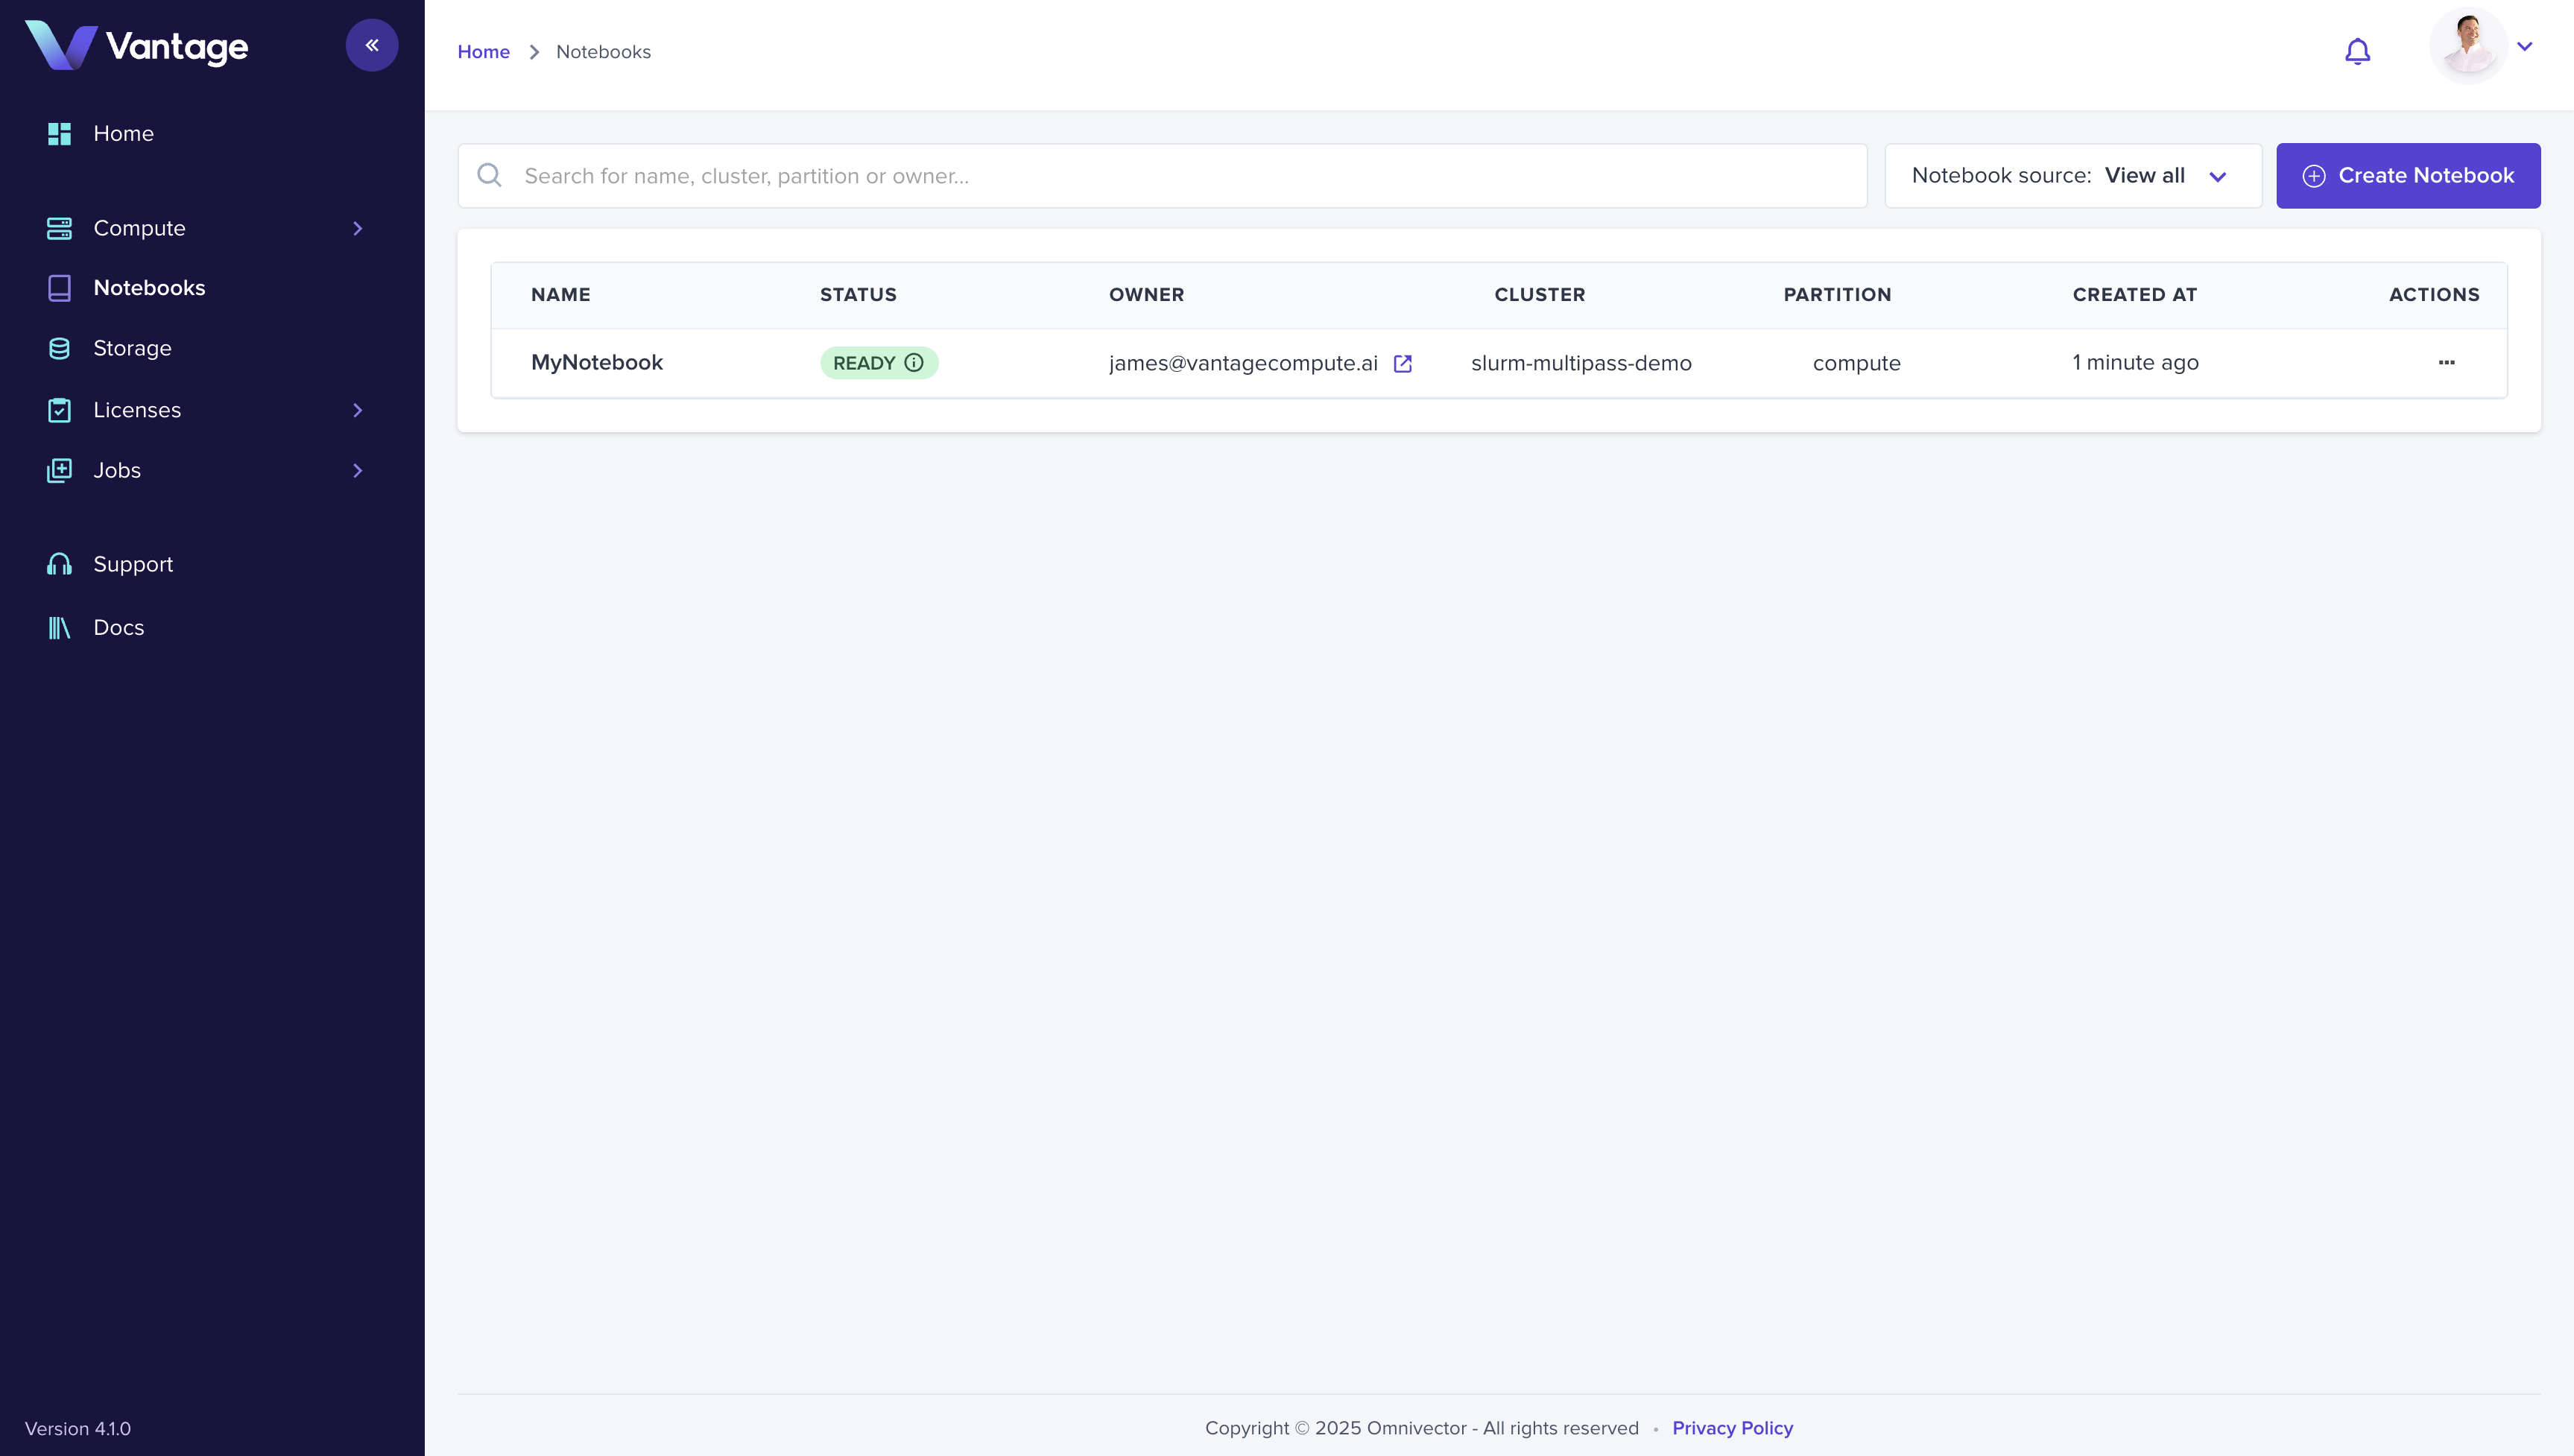
Step 4: Access Your Notebook
Click on your newly created notebook in the list to open it in the Vantage web UI.
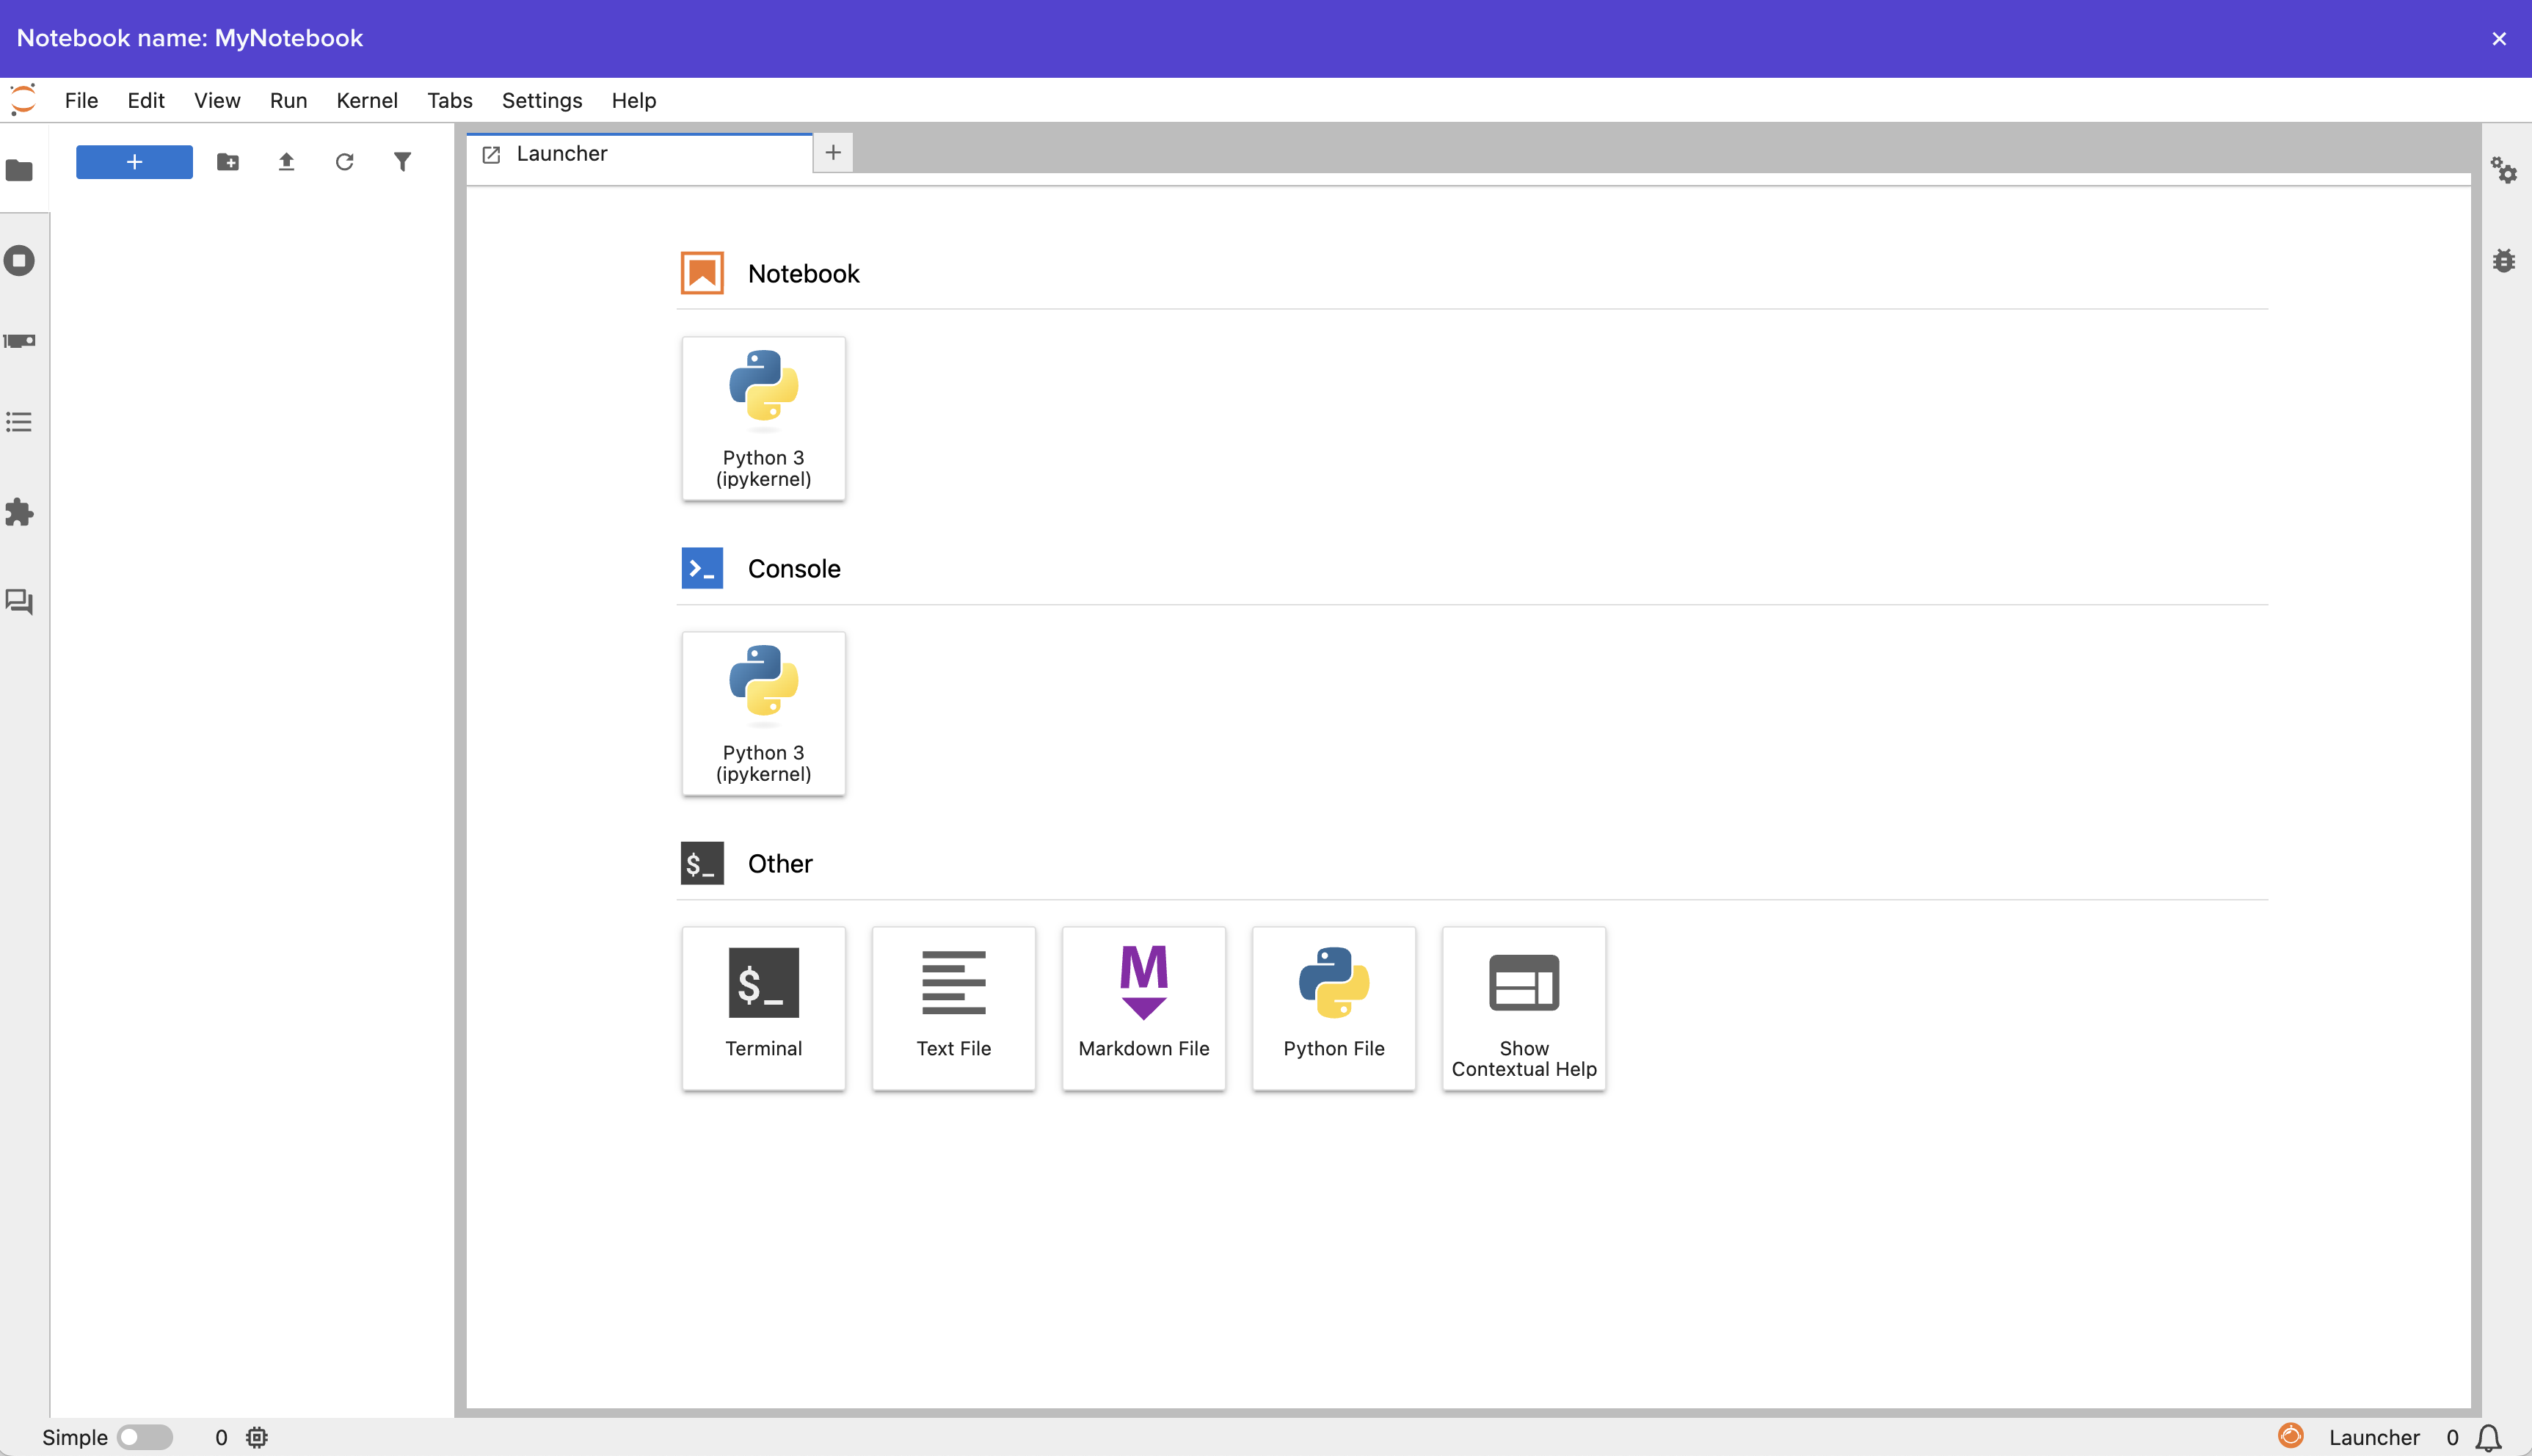
Step 5: Start Coding
Your notebook environment is ready. You can now write and execute code directly in your browser.
Summary
You have a production-grade Jupyter Notebook running on your Slurm cluster. You can share your cluster with team members, submit batch jobs, federate with other clusters, and more.